How Are Candles Made From Scratch?
Candlemaking dates back thousands of years, with evidence of candle use in ancient Egypt, Rome, and China. Candles were originally made from tallow (animal fat) or beeswax and used as a practical source of light. The basic candlemaking process involves preparing the wax, usually by melting it, adding fragrance and color if desired, pouring the wax into a container or mold, inserting a wick, and then allowing the candle to cool and cure before use. Today, candlemaking remains popular both as a hobby and commercial industry, using paraffin wax, soy wax, beeswax, and palm wax. The history of candlemaking provides context on how this ancient craft has evolved yet remains fundamentally the same. The basic materials needed for modern candlemaking include wax, wicks, molds or containers, and optional additives like fragrance and dye.While methods have improved, the candlemaking process continues traditions established since ancient times.
Choosing Wax
There are several types of wax that can be used to make candles. Some of the most common types include:
Paraffin Wax – This is a petroleum-based wax made from refined petroleum. It is easy to work with and makes candles that burn cleanly. However, some consider it less environmentally-friendly. Source
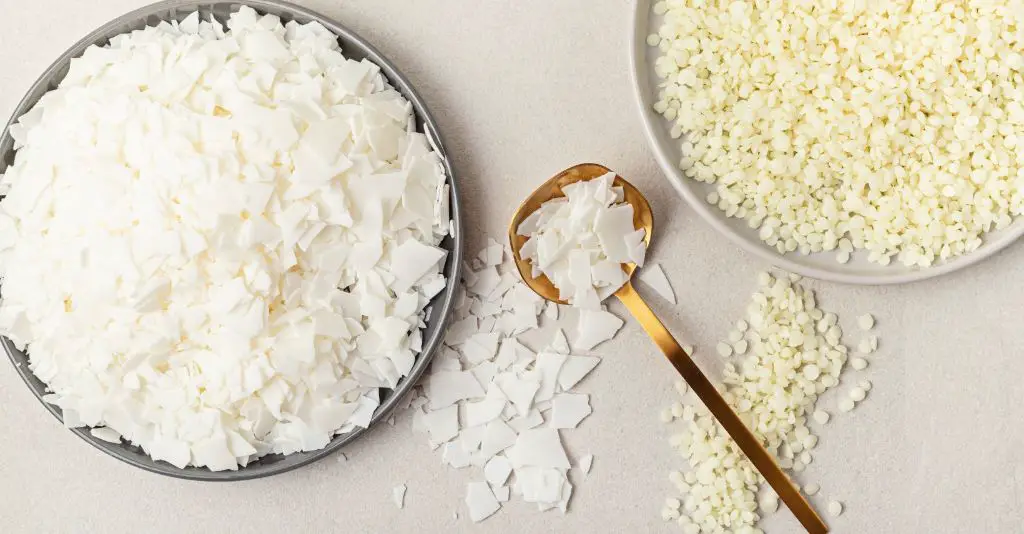
Soy Wax – Made from hydrogenated soybean oil, this is considered a renewable and eco-friendly option. Soy wax makes candles that burn slower and cooler than paraffin. However, the scent may not be as strong. Source
Beeswax – Beeswax comes directly from bee hives. It has a lovely natural scent and makes candles that burn slowly and cleanly. However, beeswax is expensive and can be tricky to work with. Source
Gel Wax – This wax alternative is made from mineral oil and polymer resins. Gel wax allows more fragrance to be added and makes candles with interesting visual effects. However, it can be messier to work with compared to other waxes. Source
Adding Fragrances and Colors
Fragrances can be added to candles to provide pleasing aromas. There are two main types of fragrances used in candlemaking: essential oils and synthetic fragrances. Essential oils are derived from plants and can provide natural scents like lavender, eucalyptus, and lemon (Smith, 2022). Synthetic fragrances are man-made and allow for a wider variety of scents. Popular synthetic candle fragrances include vanilla, cotton, and clean linen.
To add fragrance to candles, the oils or synthetic scents are blended into the melted wax. Most fragrances are mixed at a rate of 1 ounce per pound of wax. The fragrances should be added after the wax is melted and cooled slightly below the burning temperature. Stir thoroughly to ensure even mixing. Adding the fragrance at the right wax temperature helps the scent throw and strength (Jones, 2021).
Candle dyes and pigments can also be added to create colored candles. Liquid candle dyes are commonly used to produce deep, vibrant hues. Start with just a few drops of liquid dye and mix into the wax fully before adding more as needed. Powdered candle color blocks are another option for achieving bold or pastel colors. As with scents, dyes and pigments are added after the wax is melted and cooled down slightly.
When adding more than one color to layered candles, allow each layer to cool fully before pouring the next color. This helps produce defined, striking designs (Taylor, 2020).
Proper mixing and adding fragrances and colors at the right wax temperature are key to achieving strong scents and vivid colors in homemade candles.
Preparing the Wick
The wick is a crucial component in candle making. Wicks come in different materials like cotton, paper, and metal. Cotton is the most common wick material. Cotton wicks are versatile and work well with most waxes. Paper and wood wicks produce a crackling sound when burned and are popular for soy candles. Metal-cored wicks provide excellent rigidity and work well for large candles. Metal-cored wicks also promote complete wax pooling.
Proper wick sizing is important for a good burn. The width of the wick should be proportional to the diameter of the candle. Larger candle diameters need thicker wicks. Using a wick that is too small can cause tunneling, while oversized wicks give a sooty flame. Many candlemaking suppliers provide wick selection guides and sizing charts to help choose the right width.
Wicks work best when pre-waxed before use. Pre-waxing helps stiffen and prime the wick. It allows the wick to absorb wax, which improves capillary action. The wick should be dipped into melted wax and then hung to dry before adding it to the candle mold.
Melting the Wax
Melting the wax is one of the most critical steps in candle making. Different waxes have different melting points, so it’s important to know the specifications of the wax you are using. Paraffin wax, for example, melts between 46–68°C (115–154°F) while soy wax melts at 57–60°C (135–140°F) (source: https://www.ehow.com/how_7709554_melt-candles-make-new-candles.html).
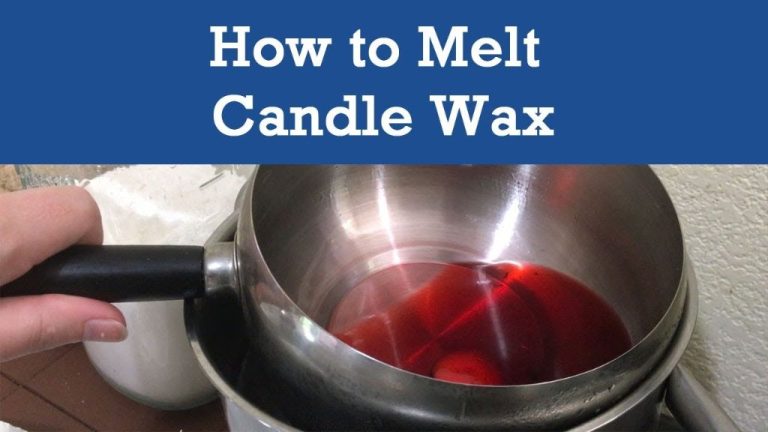
The best way to melt wax for candles is using a double boiler, which allows you to precisely control the temperature. Fill the bottom pot with a few inches of water and place your wax in the top pot. Heat the water slowly until the wax becomes liquid. Using a thermometer to monitor the temperature is highly recommended. Do not let the wax get too hot, as this can affect the quality and performance of the finished candle. Maintaining the proper melting temperature for the specific wax type is crucial.
As an alternative to the double boiler method, you can carefully melt wax in a heavy pot on the stove over low heat. Use a thermometer and stir frequently to prevent overheating. Some candle makers also melt wax in the microwave, heating it for 1-2 minutes at a time and stirring between intervals. Regardless of technique, precision temperature control while melting wax is vital for crafting high quality candles (source: https://suffolkcandles.co.uk/blogs/candles/how-to-melt-wax-for-candles).
Pouring
Once the wax is fully melted and the desired fragrance and dye have been added and incorporated, it’s time to carefully pour the liquid wax into the candle vessels or molds. Proper preparation of the vessels is crucial for a smooth pouring process.
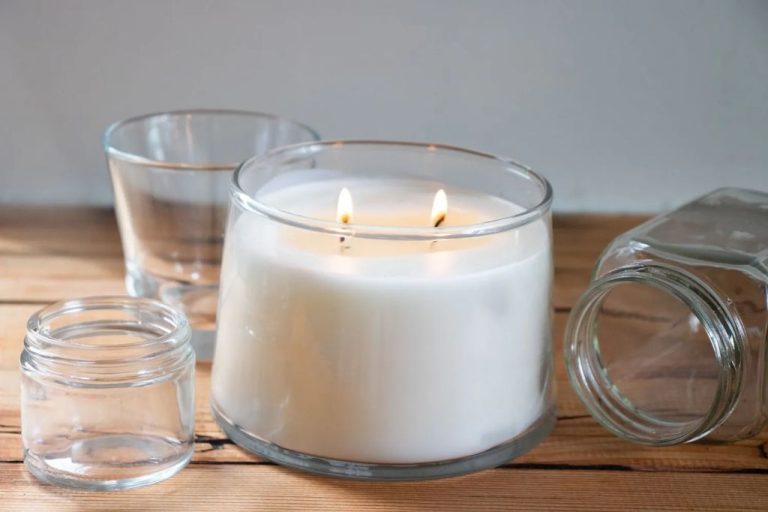
Candle vessels should be clean and dry before pouring in the wax. Any residue, dust, or moisture can cause imperfections in the finished candle. The vessels can be heated slightly before pouring, which helps the wax spread evenly and cling to the sides as it cools. According to The Chicago Candle Co’s video tutorial, vessels can be warmed with a heat gun, however caution should be taken not overheat them (https://www.chicagocandleco.com/pages/video-tutorial).
When pouring the wax, hold the vessel steady and pour in a thin stream from around 6 inches above the vessel. This height allows the wax to cool slightly before hitting the bottom, preventing air bubbles from forming. Pour down the sides until the vessel is around 1/4 full, then transition to pouring in a spiral motion toward the center. The spiral motion also minimizes bubbles. Leave a little headspace at the top for the finishing touch.
Allow the poured candles to cool completely before handling. This may take 1-2 hours. Cooling too quickly can cause sinkholes and cracks. According to 7th Street Candle Co, a temperature-controlled space is ideal, around 65-75°F (https://www.7thstreetcandle.co/pages/how-to-pour-candles). Once fully cooled and set, the candles are ready for finishing touches.
Shaping and Molding
Candles can be shaped and molded in a variety of ways to achieve different designs. Some of the most common techniques for shaping candles include:
Using shaped molds – Molds come in all sorts of shapes like stars, hearts, animals, letters, numbers, etc. Pouring wax into a shaped mold and letting it set is the easiest way to create shaped candles.
Creating layered candles – To make a layered candle, you pour different colored wax into the mold in layers. Let each layer set partially before pouring the next color. The different wax colors will create stripes or other patterns.
Hand-dipping – With hand-dipping, you repeatedly dip a wick into melted wax to build up wax around the wick. You can create different shapes and designs by how you move and angle the wick when dipping. Hand-dipping takes practice but allows for unique candle shapes.
Some other techniques like pouring wax over objects and carving candles can also be used. Get creative with different molds and experiment with shaping techniques to make your candles stand out!
Cooling and Curing
Proper cooling is one of the most important steps when making candles. You’ll want to cool the candles slowly to prevent cracks, sinkholes, and other defects. The ideal cooling temperature is 120-130°F. Allow the candles to cool uncovered so wax vapors can escape. Elevate the candles on a wire rack so air can circulate underneath. Avoid cooling the candles on cold, solid surfaces like granite or metal as this can cause uneven cooling.
Once cooled to room temperature, candles should cure for 24-48 hours before burning. Curing allows the crystals in the wax to fully form, maximizing the burn time. Storing the candles in a warm area around 75°F is ideal for curing. Cold temperatures can cause frosting or blooming on the candle surface. After curing, the candles are ready to have their wicks trimmed and be enjoyed!
Finishing Touches
The final steps in making candles from scratch involve adding those last embellishments and perfecting the shape. This is when you can get creative and make the candles look polished and pretty. Here are some tips for finishing touches:
Smoothing and Shaping: Once the candles have cooled and hardened, it’s time to smooth out any imperfections in the surface. Use a knife or spatula to gently scrape away drips or uneven wax. You can also use this tool to shape the candle, trimming the base or sides into clean lines. Be careful not to cut too deeply or dig into the candle.
Adding Labels/Decorations: Personalize your homemade candles by adding decorative labels, wrappers, or embellishments. Printable sticker labels work great, as do reusuable fabric sleeves. You can also adhere sequins, beads, dried flowers or other decorative items to the outside of the candle with hot glue. Get creative with different looks depending on the scent and occasion. Just be cautious about adding anything that could catch fire too easily.
Safety Tips
Candlemaking can be dangerous if proper precautions are not taken. Here are some key safety tips to follow:
Always wear proper safety equipment like gloves, long sleeves, and eye protection. The hot wax can cause serious burns if it splashes on unprotected skin (1). Good ventilation is also critical, as some waxes produce fumes that can be irritating. Work in a well-ventilated area and use fans if needed (2).
Never leave a burning candle unattended. Make sure to put candles out before leaving a room, and keep them away from flammable materials like curtains or tablecloths. Have a lid or fire extinguisher on hand in case the flame gets out of control (3).
Store wax and fragrance oils safely, as they can be flammable. Keep away from heat, sparks, and open flames. Only melt wax using a double boiler or wax melter to avoid overheating (1).
In summary, take proper precautions with equipment, ventilation, fire safety, and storage when making candles. This will help ensure the hobby can be enjoyed safely.
(1) https://northwoodcandlesupply.com/blogs/news/5-candle-making-safety-tips-everyone-should-follow
(2) https://lonestarcandlesupply.com/candle-making-safety-tips/

