Can You Use Wood Wicks With Beeswax Candles?
Wood wicks are a type of wick made from wood that provide a natural and eco-friendly option for candles. They are typically made from bamboo, wood pulp, or reed grass fibers and are braided or twisted to create a stiff wicking material. Wood wicks make a signature crackling or popping sound when burnt, which some find pleasing. They also tend to burn hotter compared to cotton wicks, preventing issues like mushrooming at the tip of the wick.
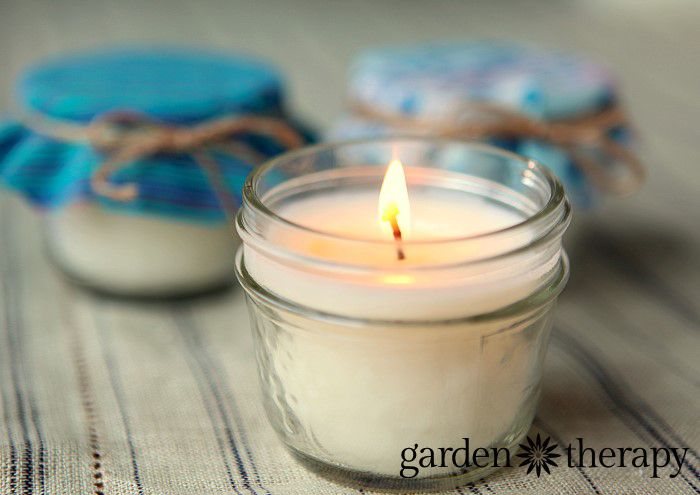
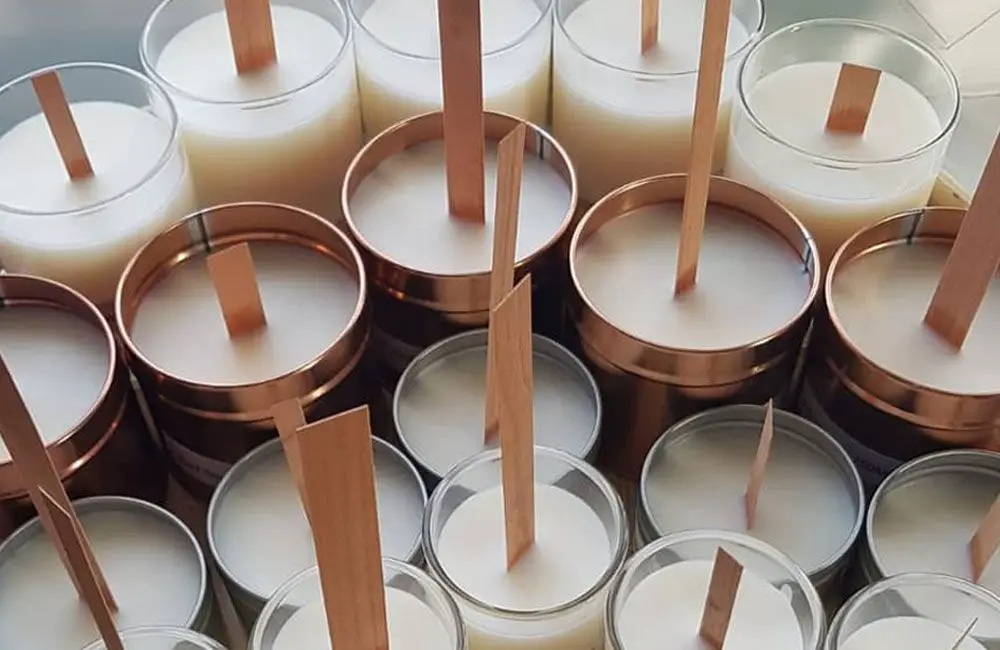
Beeswax candles are made from pure beeswax, which comes from honeycomb produced by honey bees. Beeswax has a natural honey scent and produces minimal soot and smoke when burnt, making beeswax candles a popular choice. The low melting point of beeswax makes it suitable for container candles rather than standalone taper or pillar candles.
Using wood wicks with beeswax candles combines the benefits of both materials. The wood wick’s high burn temperature helps properly melt and pool the beeswax while emitting a pleasant crackling sound. Beeswax candles with wood wicks are an eco-friendly, non-toxic option that produces less soot than paraffin wax candles.
Advantages of Using Wood Wicks
One of the biggest advantages of using wooden wicks in beeswax candles is the signature crackling sound they produce as the candle burns. The wood grain in the wick creates small pockets and channels that pop and crackle as the wax around them heats up (1). This crackling sound adds a cozy ambiance that many candle lovers enjoy. Wood wicks also help release more aroma from beeswax candles as they burn, allowing the natural honey-like scent of beeswax to fill the room (2).
Wood wicks are made from natural materials like wood flour, plant fibers, and cotton threads. This makes them a renewable and sustainable option compared to some synthetic wick materials. They are also less likely to create soot and smoke as they burn. The wood flour incorporated into wooden wicks helps absorb and dissipate some of the black carbon particles that normally create messy soot on candle holders and surfaces (1). This makes wood wicks a cleaner option for beeswax candles.
(1) https://www.faircandles.com/en-us/blogs/news/the-benefits-of-using-a-wooden-wick
(2) https://bccandles.com/blogs/news/wick-type-beeswax-candles
Disadvantages of Using Wood Wicks
While wood wicks have some benefits, there are also some potential downsides to using them with beeswax candles:
Higher cost – Wood wicks are generally more expensive than basic cotton wicks. The wood itself and manufacturing process contributes to the higher price (source). This can drive up the cost of materials when making beeswax candles.
Fragility – Wood wicks are more fragile than cotton wicks. They can break more easily during production and handling. Extra care must be taken when pouring beeswax over wood wicks (source).
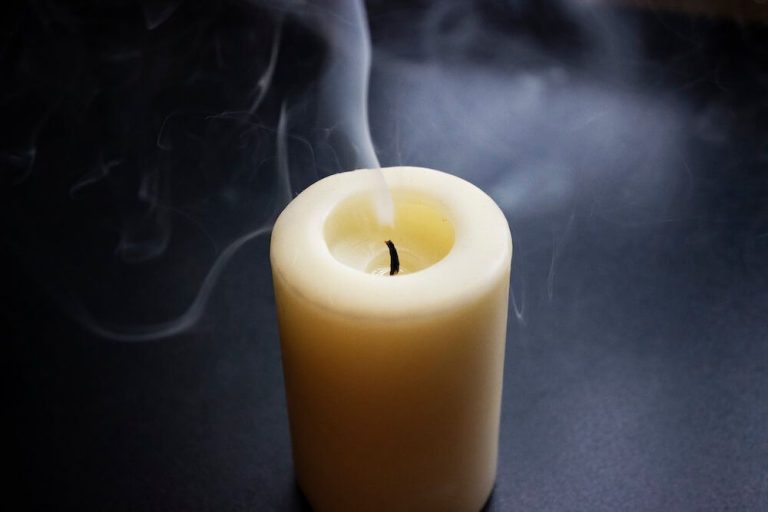
Needing trimming – Wood wicks often produce more soot than regular wicks. The unburned carbon deposits must be trimmed off the wick periodically for optimal performance (source). This extra maintenance should be considered when using wood wicks.
Choosing the Right Wood Wick
When choosing a wood wick for beeswax candles, it’s important to consider the wick width, wood type, and length. The width of the wick should match the diameter of the candle container in order to prevent tunneling. Common wick widths for beeswax candles are CD 5, 7, 10, 12, and 14.
The most popular wood types for wicks are bamboo, birch, and cottonwood due to their excellent burning properties. Bamboo is a sturdy material that burns slowly and steadily. Birch provides a brighter flame and cottonwood has natural oils that promote full wick consumption.
The wick length should be approximately 1/4 inch taller than the depth of the candle container or 1/2 inch above the melted wax pool (Candle Science). Allowing the proper wick height prevents sooting and provides the best melt pool for full fragrance dispersion. Testing different wood wick options is recommended to find the best pairing with your specific beeswax and candle jars.
Preparing the Wood Wick
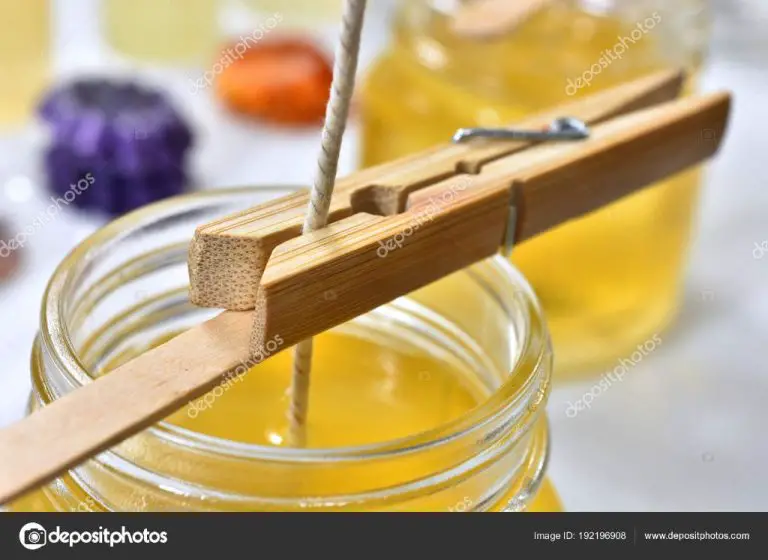
Proper wick preparation is key to making a successful wood wick candle. The main steps in preparing a wood wick include priming, attaching wick tabs, and centering in the container.
Priming the wick helps ensure even burning by allowing the wax to fully saturate the wood fibers before pouring the rest of the wax. To prime, dip the bottom of the wick in melted wax and allow it to dry before proceeding. This primes the wick and provides a base to stand it up in the container (Source).
Attach wick tabs or sustainer strips to the base of the wick to help center and stabilize it while pouring wax. The tabs keep the wick upright and prevent it from shifting when the wax is added (Source).
Before pouring wax, ensure the wick is centered in the container. Having it off-center can lead to uneven burning or tunneling issues. Use a wick stick, pencil, or skewer to hold the wick in place while pouring (Source).
Pouring the Beeswax
When pouring the beeswax, it is important to pay attention to the temperature. The wax should be around 150-165°F when poured into the container with the wood wick (source: https://www.outpostsoaps.com/products/beeswax-candle-with-wooden-wick-winter-forest). If the wax is too hot, it can scorch or burn the wick. If it is too cool, it may not adhere properly.
Allow the wax to cool slightly after melting before pouring. Use a thermometer to check the temperature. Pour steadily and directly onto the wick to avoid gaps or air bubbles. The wax will continue cooling and hardening around the wick as it sets.
Let the candle set undisturbed as it cools completely. This allows the wax to fully adhere to the wood wick. Avoid jostling or moving the candle while it solidifies. A proper pour and full setup time results in a candle with a strong, lasting wick bond.
Curing and Testing
After pouring beeswax candles with wood wicks, it is crucial to allow adequate curing time before testing or using them. Experts recommend waiting at least 24-48 hours for the candles to fully cure and stabilize. This curing time allows the wax to completely harden and adhere securely to the wick.
Once cured, conduct a burn test by lighting the candle for at least one hour. According to the Armatage Candle Company’s burn test guidelines [1], observe the following during the test:
- Flame height – Should be 1-2 inches high.
- Mushrooming – Some mushrooming of the flame is normal but should not be excessive.
- Smoke/Soot – Very little or no smoke/soot if the wick is sized appropriately.
- Tunelling – Tunnelling is when melted wax pools around the edge of the container. Minimal tunnelling is ideal.
- Cracking/Cratering – Cracks and craters in the top layer of wax can signify issues.
If any problems occur like excessive mushrooming, smoke, or tunnelling, the wick may be too large and will need to be trimmed. Beeswax shrinks slightly as it cools, so a perfectly level top surface right after pouring may end up with a crater after curing. Some minor imperfections are normal.
Trimming the Wick
Proper wick trimming is essential for wood wick candles to burn effectively. According to this source, the wick should be trimmed to 1/8” to 3/16” before lighting the candle each time. Trimming the wick before lighting allows the flame to pull up the wax properly. Without trimming first, the wick can create excess carbon buildup or mushroom at the tip.
There are a few techniques for trimming a wood wick. Specialty wood wick trimmers, like this wick trimmer, make clean cuts through the wood fiber. Kitchen shears can also trim wicks effectively. Use a ruler to measure the proper length before cutting. Make straight cuts across the top of the wick to leave a flat, even surface. Avoid angled or ragged cuts, which can lead to uneven burning.
In terms of length, 1/8” to 3/16” is ideal, as mentioned above. This leaves just enough exposed wick to create a strong flame, without leaving excess wick that could create smoke or leave charred bits behind. Test the trim length with a short burn, then adjust as needed for optimal results.
Troubleshooting
Troubleshooting beeswax candles with wood wicks can help resolve common issues like soot buildup, drowned wicks, and tunneling.
Sooting occurs when the flame becomes too large. This can happen if the wick is too wide for the wax pool. Try using a smaller width wick or trimming the wick shorter to reduce sooting. Make sure to keep wicks centered in the wax pool as well (Source).
Drowned wicks happen when liquid wax covers the wick so it can no longer burn. This is often caused by pouring beeswax too hot or not allowing enough time to cure. Let candles fully cure for at least 48 hours before burning to prevent drowned wicks (Source).
Tunneling refers to pockets forming around the wick. This is typically due to using too small of a wick for the candle diameter. Select a wider wick or double up on wicks to provide enough heat to melt all the wax and prevent tunneling.
Conclusion
In summary, using wood wicks with beeswax candles can provide some nice benefits but also requires extra care. Wood wicks create a pleasant crackling sound as they burn, adding ambiance. Their porous surface also helps absorb more wax to promote an even, consistent flame. However, beeswax is prone to clogging wicks more than paraffin, so special preparation is key.
To use wood wicks successfully with beeswax, clean the wick first to remove dust or residue. Braid or twist the wick tightly to maximize capillary action. Pour slowly and allow time to fully saturate the wick before adding more wax. Let the candle cure completely, then trim the wick to 1⁄4” before burning. Monitor the flame to watch for mushrooming or clogging issues. With the right wick size and careful pouring and curing, beeswax and wood wicks can make beautiful, natural candles with wonderful light and scent.