Can You Use Cotton Cord For Candle Wick?
Homemade candles are a satisfying hobby that allows creative expression and control over ingredients. Choosing natural wax, essential oils, herbs, and other pure ingredients results in non-toxic candles free of artificial dyes and fragrances (https://willowandsage.com/the-benefits-of-using-natural-candles/). Handcrafted candles also make great personalized gifts.
An essential yet often overlooked component is the wick, which impacts how evenly and cleanly a candle burns. While most commercial wicks are cotton braids, some candle makers prefer using natural cotton cord to have more control over wick quality and performance. This allows testing wick diameter and type to match the candle wax and vessel. Cotton cord can work well as candle wick with proper preparation and testing.
What is Candle Wick Made Of?
Most modern candle wicks are made of braided cotton [1]. Cotton is commonly used because it has a natural capillarity that draws wax up the wick. The cotton fibers burn slowly and evenly, providing a consistent flame. Some wicks also have a paper core inside the braided cotton exterior. The paper core helps stiffen the wick to keep it upright and centered as the candle burns [1]. Using all-cotton wicks versus ones with a paper core makes little difference in performance.
While most wicks today use cotton, other natural materials can also be used to make homemade candle wicks. These include wood, paper, hemp, beeswax, and jute. However, these other natural wicks may not burn as evenly or consistently as cotton [2].
Key Properties of Candle Wicks
The key properties of a good candle wick include its ability to effectively absorb and disperse wax, withstand the flame, and retain its shape while burning. As the candle burns, the wick must act like a fuel pump, drawing the liquefied wax up into the flame in order to sustain the burn1. To accomplish this, the wick needs to have certain characteristics:
- Absorb and disperse wax – A quality wick will have a loose braid or twist that allows it to soak up melted wax and transport it up to the flame. The wick must readily absorb wax when the candle is lit and release it as it burns. Wicks that are too dense or tightly braided will have difficulty absorbing enough wax.
- Withstand flame – The wick must be able to withstand the heat of the sustained flame. If the wick burns up too quickly, it will interrupt the capillary action drawing wax up to the flame. Natural fibers like cotton are preferred as they burn slowly and hold their shape better than synthetic wicks when exposed to high heat.
- Retain shape while burning – As the wick burns down, it should resist becoming hard, brittle or dropping ash that could extinguish the flame. Properly pre-waxed or primed wicks will hold their shape and not bend over into the melted wax pool. The wick shape should remain consistent throughout the full burn time of the candle2.
Choosing a wick with these key properties allows for the proper capillary action to draw wax up and sustain an even, consistent flame for the life of the candle.
Choosing the Right Cotton Cord
When choosing cotton cord for candle wicks, it’s important to select a high-quality braided cotton that will burn properly. Look for cotton cord that is tightly braided with no loose threads. Loose threads can lead to an uneven burn and excess black smoke.
High quality candle wick cotton is mercerized, meaning it has gone through a process to increase luster and strength. Mercerized cotton has a smooth surface and resists fraying or breaking.
According to CandleScience, cotton cord that is too loosely spun or low quality can “mushroom” when burned, creating thick black smoke and soot (https://www.candlescience.com/learning/choosing-the-right-wick/). Tightly braided premium candle wick cotton will have a clean, even burn.

The cotton fibers should also be long staple length. Long staple cottons like Egyptian or Pima cotton have longer fibers that are stronger. This allows for tighter braiding without excessive fraying.
Look for candle wick grade cotton cord that is designed for candle making. Avoid using regular crafter’s cotton cord, as it likely won’t have the right properties for clean burning as a wick.
Preparing the Cotton Cord
Before using cotton cord as candle wick, it is important to properly prepare it so it burns cleanly and evenly. Here are the key steps:
First, cut the cotton cord to the desired wick length, making sure to account for the container depth and ideal wick height. Using sharp scissors helps create a clean cut.
Next, singe or melt the cut ends of the cotton wick using a lighter or candle flame. This seals the ends and prevents fraying or unraveling when exposed to the hot wax.
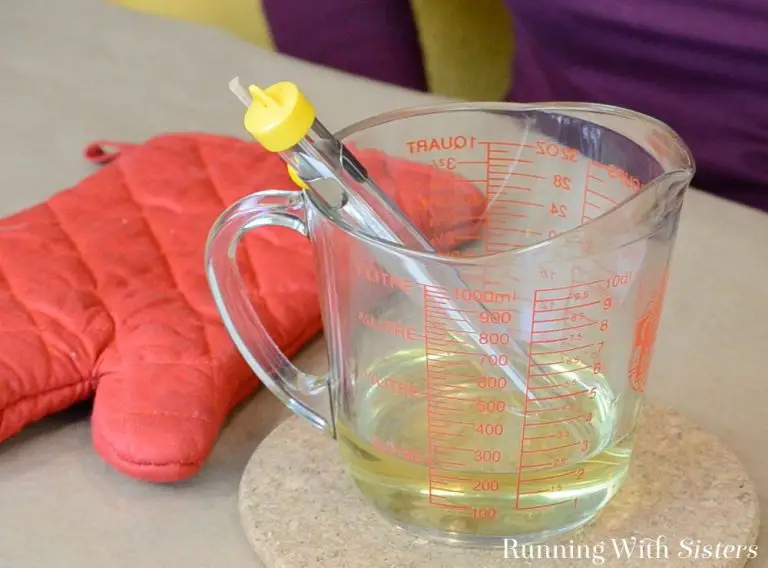
Finally, prime the wick by dipping it in melted wax and allowing it to dry. This helps the wick draw up the wax and burn more evenly. Priming also rigidizes the wick before inserting it into the candle.
Properly preparing the cotton cord by cutting, sealing, and priming is crucial for optimal wick performance and a clean, even burn.
Wick Diameter and Candle Size
It’s important to match the wick diameter to the candle diameter for optimal burn. As a general rule, smaller candles need smaller wicks, while larger candles need larger wicks. The wick acts as a fuel delivery system, so it needs to be proportional to the amount of wax that needs to be melted and evaporated.
According to CandleScience, their wicks follow this rule – the larger the number, the larger the wick. So an ECO 14 would be bigger than an ECO 10. Lonestar Candle Supply also provides a wick sizing chart with recommended wick types and sizes for different candle diameters.
For example, they recommend an ECO 10 wick for a 2-3 inch diameter container candle. Whereas a 3-4 inch diameter pillar candle would need a CD 12 wick. The wick must extend into the melt pool but not touch the sides of the container to avoid creating soot.
Use wick sizing charts from reputable suppliers as a starting point. Test different wick sizes to find the best fit for your wax type, fragrance load, and candle dimensions. The flame should be steady and bright once the wax has fully melted.
Wicking the Candle
Properly wicking a candle is crucial for even burning and preventing tunneling. There are a few methods for securing the wick in the center as the candle hardens:
- Use a wick bar or wick stick – This is a small metal piece that the wick gets threaded through to hold it in place. It rests across the diameter of the container. The wax will secure the wick bar as it hardens (source).
- Wrap the base of the wick around a pen or chopstick – Run the wick’s base across a pen or chopstick placed widthwise on the container. Pour wax over it and let it set (source).
- Use wick tabs – These adhesive tabs stick the wick to the bottom of the container. Remove after the wax has begun to harden.
- Hold the wick taut – For smaller containers, hold the wick taught vertically with tweezers as you pour in wax. The cooling wax will secure it.
Keeping the wick centered will help the wax melt in a balanced way and maximize how much of the candle can be burned.
Trimming the Wick
Once the candle is fully assembled, it’s important to trim the wick to the proper length before lighting it for the first time. According to Lone Star Candle Supply, wicks should be trimmed to 1/4 inch before lighting to prevent excess soot and promote a steady flame.
Trimming to this ideal height allows just enough wick to stand above the wax pool and absorb wax to fuel the flame. Any longer and the wick may produce more smoke and get too hot. Any shorter and the flame could tunnel down into the candle, rather than melting across the top.
Use sharp scissors or nail clippers to neatly trim the wick straight across to 1/4 inch. Trim it again to maintain this height each time before lighting, as the wick will continue to burn down with use. This consistent 1/4 inch trim maximizes flame stability and minimizes excess smoke each time you light the cotton wick.
With a precise trim before first lighting and each subsequent use, you can enjoy the clean, bright burn that cotton wick is known for in candle making.
Burn Testing the Wick
Once you’ve completed wicking all the candles, it’s important to test burn them before selling or gifting. Burn testing allows you to observe how the cotton wick performs and make any necessary adjustments.
According to CandleScience, you’ll want to check for a few key things during a burn test:
- No excess smoking – This indicates the wick may be too large.
- No flaring or mushrooming – Flaring can create excess soot and indicates the wick needs to be trimmed.
- Even melting across the top of the candle – The wax should melt evenly without creating holes or valleys.
- Complete wax pool coverage – The entire top of the candle should melt evenly on each burn.
Testing the cotton wick will allow you to observe the melt pool and make any necessary wick adjustments like trimming or using a different wick size. According to The Flaming Candle, testing 3-5 candles will ensure your wick is optimized before selling or gifting your homemade candles.
Conclusion
In summary, cotton cord can be used to make high quality candle wicks with proper preparation and testing. Cotton cord has the necessary properties like strength and braidability that make it a suitable wick material. However, the cord must be pre-treated with borax and sized appropriately to the candle diameter to enable optimal capillary action and burning. Proper wicking technique is also key to centering the wick and allowing the melted wax to climb. Finally, burn testing each wick before pouring candles will confirm its ability to self-trim, resist smoking, and promote an even melt pool. With careful wick sizing, preparation, and quality testing, cotton cord can indeed create excellent wicks for candle making.