Can You Use Candle Wax For Melts?
What are candle melts?
Candle melts, also known as wax melts, are small pieces of scented wax that are melted to release fragrance. Unlike candles, wax melts do not have a wick and do not produce an open flame when melted. They are made from candle wax that has been infused with oils for fragrance.
Wax melts are usually shaped into small cubes, bars, or discs. Common sizes are around 1-2 inches wide and 0.5-1 inches tall. They are placed in a melt warmer or tart burner, which gently heats them until the wax liquefies and the scent permeates the air. Electric and candle-heated warmers are the most common options.
Once cooled and solidified again, the melted wax can be removed from the warmer. The wax melts can be reused multiple times before the fragrance fades. Compared to candles, wax melts allow for safer, reusable, and adjustable scented fragrance in the home.
Candle Wax Types
There are several common types of wax used for candle making, each with their own properties and characteristics:
Paraffin Wax
Paraffin wax is a mineral wax derived from petroleum. It is the most commonly used candle wax due to its low cost and excellent burn properties. Paraffin wax candles burn long and clean, and hold both fragrance and color well (Martha Stewart). However, paraffin releases more soot than other waxes when burned.
Soy Wax
Soy wax is made from hydrogenated soybean oil. It burns slower and cooler than paraffin, so the wax pool melts evenly. Soy wax is also biodegradable and renewable (Martha Stewart). However, soy wax is more prone to frosting and oil sweating than paraffin.
Beeswax
Beeswax is a natural wax made by honey bees. It has a lovely natural honey aroma when burned. Beeswax candles burn brighter and longer compared to other natural waxes. However, beeswax is expensive and can be challenging to work with (Martha Stewart).
Gel Wax
Gel wax is a blend of mineral oil and polymer resins. It has a thick, gel-like texture that allows for enhanced decorative details. Gel wax candles burn slow and even without requiring a container. However, gel wax can sweat or become sticky in warmer environments (Martha Stewart).
Using leftover candle wax
Reusing leftover candle wax is a great way to get more use out of old candles and reduce waste. When a candle burns down, there is often still usable wax remaining stuck to the sides and bottom of the glass or container. With a few simple steps, this leftover wax can be cleaned, melted down, and turned into new candles, wax melts, or other DIY projects.1
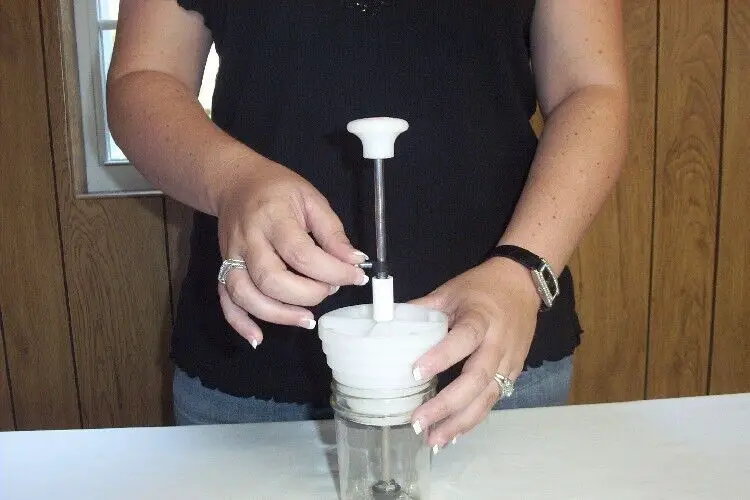
To reuse old candle wax, first let the remaining wax cool completely. Then, carefully remove it from the glass container. Use a knife or spatula to pry off any wax stuck to the sides. Gently tap the container upside down to dislodge the lump of wax. Be careful, as glass containers can break if handled too roughly.
Once removed, inspect the lump of wax. Pick off any wick fragments, debris, or wick stickers. If the wax has turned yellow or lost its scent, it can be cleaned through a re-melting process. Grate or break up the wax into small chunks first to make melting faster. Place the wax pieces in a heat-safe container or double boiler. Heat over low, stirring frequently, until the wax has completely melted into a liquid.2
After melting, let the wax cool slightly and then pour it through a sieve or cheesecloth to filter out any remaining impurities. Be careful not to burn yourself when handling hot wax. The melted wax can now be reused for candle making, wax melts, embeds, etc. Store leftover cleaned wax in an airtight container until ready to use again.
Making melts with candle wax
Making your own wax melts from leftover candle wax is a great way to reuse candles and customize your own scents. The process is quite simple and only requires a few basic steps.
If using paraffin wax from a candle, cut or break the candle wax into smaller pieces and place in a heat safe glass measuring cup or bowl. Fill a saucepan with 2-3 inches of water and place the glass bowl in the water to create a double boiler. Heat over medium heat, stirring occasionally, until the wax is completely melted (about 5-10 minutes). According to Jessica Welling Interiors, paraffin wax melts at temperatures between 115-145°F.
For soy wax, the process is the same. Cut soy wax into small chunks and melt in a double boiler over medium-low heat until liquified, stirring regularly. Soy wax melts at slightly lower temperatures, between 115-130°F. According to by-Pink.com, soy wax can take a bit longer to completely melt, around 15-20 minutes.
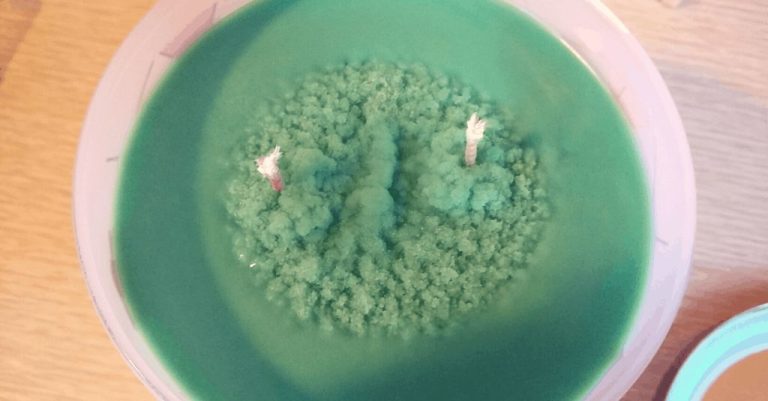
Other natural waxes like beeswax and coconut wax can also be used. Follow the same double boiler method, stirring frequently, until the wax is fully melted and smooth. The melt point varies depending on the wax blend. Pour the melted wax into silicone molds and let fully set before removing the wax melts.
Adding Fragrance
Adding fragrance oil or essential oils is key to giving your candle wax melts their signature scent. The proper technique for adding fragrance is crucial for getting the right scent throw and intensity.
According to Lone Star Candle Supply (https://lonestarcandlesupply.com/dos-and-donts-of-candle-making/), essential oils and fragrance oils should be added when the wax is between 180-185°F. This allows the fragrance to fully bind to the wax so it doesn’t burn off too quickly when the melt is lit.
Living Well Mom (https://livingwellmom.com/homemade-scented-wax-melts/) recommends adding a few drops of essential oil back into previously melted wax to “recharge” the fragrance. This allows you to revive used melts with a fresh scent.
When adding fragrance, start with .5 oz of oil per pound of wax and adjust to preference. Stir thoroughly to distribute the oil evenly. Allow the wax to fully set before using the melts.
Storing Melts
Proper storage is crucial for maintaining the scent and shape of wax melts. The ideal temperature range for storage is between 65-75°F (18-24°C). Temperatures above 80°F may cause wax melts to lose their shape and scents to fade faster. Very low temperatures like refrigeration can make melts too brittle and prone to cracking.
Store wax melts in an airtight container like a glass jar or plastic tub to prevent moisture absorption. According to this source, exposure to moisture can ruin wax melts. Resealable plastic bags also work well for storage. For best results, do not overcrowd wax melts in storage containers.
Keep wax melts away from direct sunlight and heat sources like appliances or heating vents. UV light and excessive heat will accelerate scent loss. Store wax melts in a dark, cool cupboard or drawer for ideal conditions.
Using Melts
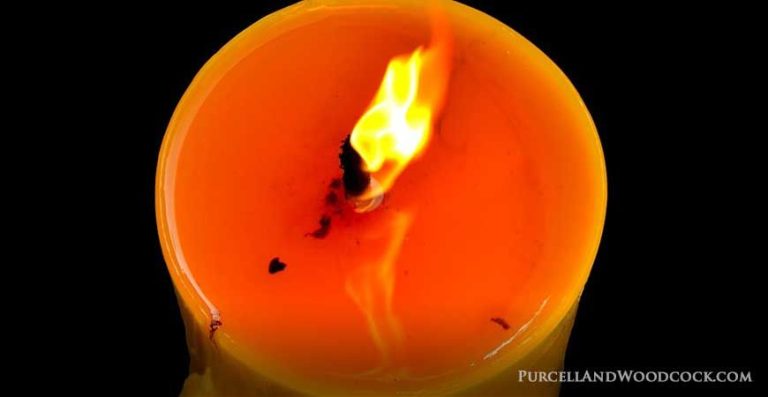
Melting wax is one of the best ways to experience your favorite scents. Wax melts are designed to melt slowly once heated, releasing fragrance into the air for hours of enjoyment. There are a few ways to melt wax melts depending on your setup.
One popular option is to use a wax warmer. These plug-in devices gently heat the wax, allowing it to melt and perfume the air. Simply place a wax melt cube in the dish and turn on the warmer according to the manufacturer’s directions. Most warmers will provide 2-6 hours of fragrance per cube (Source).
You can also use a tea light or votive candle to melt wax. Place the melt in a heat-safe container like a candle jar or warming plate. Put the lit candle underneath and allow the heat to slowly melt the wax. Move the candle closer or farther away to adjust the melt rate. Just be sure to never leave melting wax unattended. Tea lights provide 1-3 hours of fragrance.
For maximum portability, place a wax melt in a small metal tin with a tight fitting lid. The air trapped inside will heat up and melt the wax. You can take your tin anywhere for an instant scent boost. However, the results are less consistent with this method.
No matter which melting method you choose, avoid placing wax directly over an open flame or other direct high heat. Use low, indirect heat for melting to avoid accidental fires. And always put melted wax in a safe place out of reach of children and pets.
Safety precautions
When making and using candle wax melts, it’s important to follow safety precautions. According to elevò home, you should only use melters approved for wax melts, never leave a burning wax warmer unattended, and avoid burning a wax melt for more than 4 hours at a time.
Wax melts can be a choking hazard for young children if ingested, so keep melts out of reach of kids. Pets can also get burned if they eat melted wax, so keep pets away when melting wax as well. Make sure to extinguish wax melts completely when finished and store in a secure container.
When making your own melts, take care when melting wax as it can cause serious burns. Work in a well-ventilated area and pour wax slowly and carefully into molds. Allow wax to fully cool and harden before removing from molds.
In general, exercise caution when working with hot wax and supervise children and pets when melting wax. Take safety measures like having a fire extinguisher on hand. With safe practices, you can enjoy candle wax melts safely.
Troubleshooting
Making candle melts often involves some trial and error. Here are some common issues and how to fix them:
Scent Fading or Disappearing
If your melts lose their scent quickly, the fragrance oil may not be mixing properly with the wax. Make sure to stir thoroughly after adding fragrance oil. Using too little fragrance oil can also lead to fading. Aim for 1 ounce of fragrance oil per pound of wax as a starting point.1
Melts Losing Shape
If your melts become misshapen or fused together, the wax was probably cooled too quickly. Allow the melted wax to fully set up at room temperature before moving to the fridge or freezer. Going straight from hot to cold can cause cracks and odd shapes.2
Wax Not Melting Properly
Hard, crumbly melts that don’t melt smoothly may indicate the wax crystallized too much. Try adding a small amount of oil like coconut or grapeseed oil which will help the wax melt at lower temperatures.
Reasons to make your own candle melts
There are several benefits to making your own candle wax melts at home. The biggest advantage is customization. When you make your own melts, you can choose your preferred wax type, fragrance oils, and color dyes. This allows you to create melts in your favorite scents. You have full control over the ingredients used.
Making your own melts is also more cost-effective than buying pre-made melts. Since you can reuse old candle wax, the wax itself is free. The only added costs are for fragrance oils and dyes which are relatively inexpensive. This is especially true if you buy in bulk. Making your own allows you to get more melts for your money.
In addition, reusing candle wax allows you to reduce waste. Rather than throwing out the leftover wax when a candle is used up, that wax can be repurposed into melts. This gives candle wax a second life and cuts down on the amount being discarded. Making your own melts is an easy way to recycle.
Overall, customization, cost savings, and reducing waste are convincing reasons to make DIY candle wax melts rather than purchasing ready-made ones. The process allows creativity and sustainability.