Can You Put Shea Butter In Melt And Pour Soap?
What is Shea Butter?
Shea butter is a type of vegetable fat that is extracted from the nut of the African shea tree. The shea tree, also known as Vitellaria paradoxa, is native to West and Central Africa. Shea trees can live up to 200 years and do not produce nuts until they are around 20-30 years old (source: https://en.wikipedia.org/wiki/Shea_butter).
Shea butter has been used for centuries in Africa for its moisturizing, anti-inflammatory and healing properties. Traditional methods involve crushing the nuts and boiling them in water to separate the oils. Shea butter is ivory in color when raw and commonly dyed yellow with plant roots. It is solid at room temperature but quickly melts when applied to skin (source: https://sheabutter.com/pages/shea-butter-history).
Some benefits of shea butter include its high concentration of fatty acids and vitamins, making it an excellent moisturizer. It is often used to hydrate dry skin, protect the skin barrier, and help minimize stretch marks, scars and wrinkles. Shea butter also has antimicrobial and anti-inflammatory properties.
Benefits of Shea Butter for Soap
Shea butter is known for its moisturizing and skin care benefits. When added to soap, shea butter can help hydrate dry skin and improve skin conditions such as eczema. The compounds in shea butter can promote skin cell regeneration and elasticity (https://health.clevelandclinic.org/shea-butter-benefits). This helps rejuvenate dull or damaged skin when using shea butter soap.
Shea butter is packed with vitamins A, E and F that combat free radicals and soothe inflammation. This makes shea butter soap ideal for sensitive skin that may be prone to irritation. The fatty acids like linoleic acid also restore skin’s moisture levels and reinforce the skin barrier, preventing moisture loss (https://www.aveeno.com/journal/what-shea-butter-5-skin-benefits-worth-knowing). The anti-inflammatory and healing properties of shea butter can calm and heal conditions like acne, eczema and sunburn when used regularly (https://www.healthline.com/health/shea-butter-for-face).
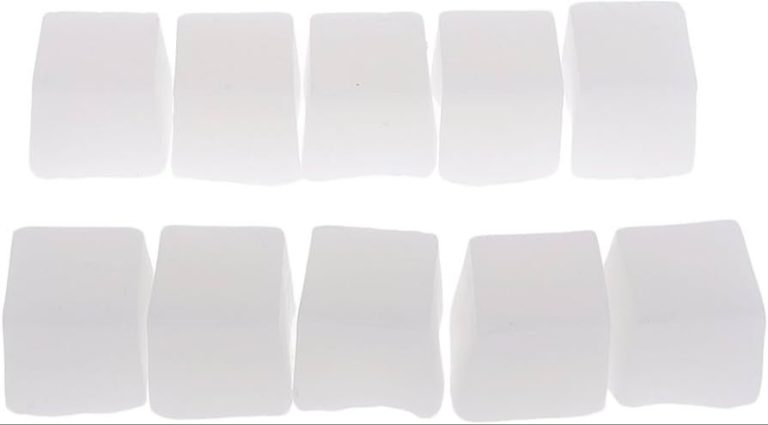
Using Shea Butter in Melt and Pour Soap
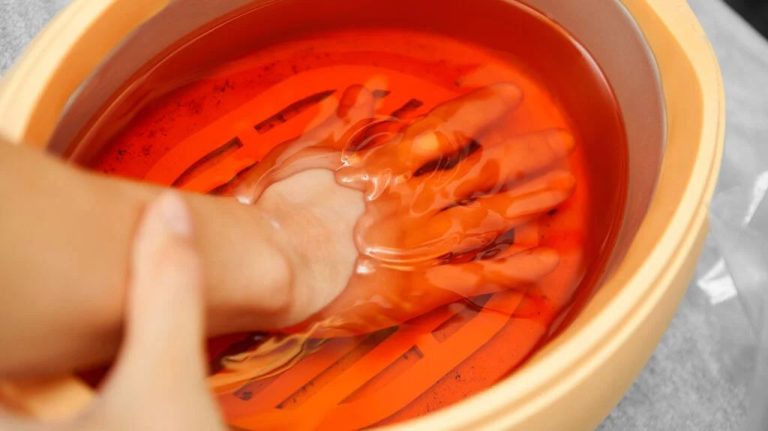
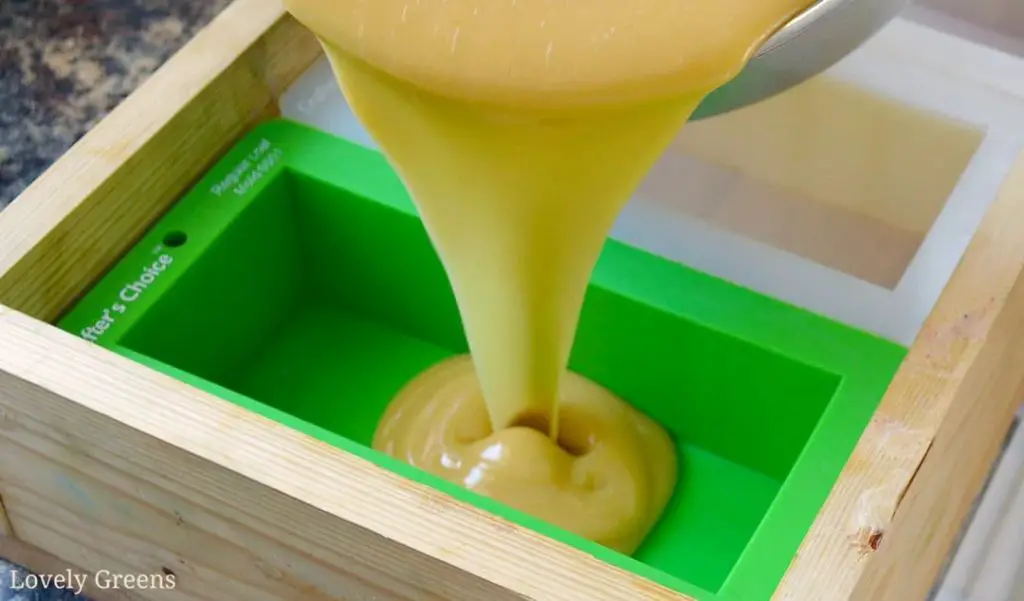
Shea butter can be easily incorporated into melt and pour soap bases to create a more moisturizing and skin-nourishing bar of soap. When adding shea butter, it’s important to melt it fully before blending it into the melted soap base.
The amount of shea butter to add can range from 1 teaspoon to 1 tablespoon per pound of soap base, depending on how much shea you want the finished bars to contain. Start with a smaller amount like 1 tsp and increase to reach your desired level of shea butter. Too much shea butter may cause the soap base to get thick and seize up.
Here are some tips for working with shea butter in melt and pour soap:
– Melt the shea butter separately from the soap base to ensure it liquefies fully. Melted shea should be smooth and free of clumps.
– Stir the melted shea butter into the melted soap base after removing from heat. Blend well to fully incorporate.
– Add the shea butter at trace while the soap base is still fluid but starting to thicken. This helps suspend the shea evenly.
– If adding fragrance or color, blend these in before adding the shea butter.
– Pour the soap into molds soon after mixing in the shea butter.
– Allow the soap bars to fully harden overnight before removing from molds.
Shea butter contains vitamins A and E which can help nourish skin. Using a shea melt and pour soap base is an easy way to create moisturizing soaps from scratch. Just melt, mix, and mold!
Sources:
https://www.primalelements.com/products/shea-butter-white-melt-pour-soap-base
Melting Points of Shea Butter vs Soap Base
Shea butter has a melting point of 89-100°F according to New Directions Aromatics [1], while melt and pour soap base melts between 130-160°F [2]. The melting point of shea butter is lower than the melt and pour soap base.
When making melt and pour soap with shea butter, it’s important not to overheat the soap base. Melt and pour soap base should be heated slowly until just melted, around 140°F according to Cierra Candles [3]. Don’t allow the temperature to rise above 160°F, as excess heat can damage the soap base.
Since shea butter has a lower melting point, it’s best to add it after the soap base has melted and cooled slightly to 130-140°F. This prevents the shea butter from burning while allowing it to fully incorporate into the soap mixture.
Adding Shea Butter at Trace
One of the most popular techniques for incorporating shea butter into melt and pour soap is to add it at “trace.” Trace refers to the point during soap making when the soap ingredients have emulsified and thickened to a consistency similar to a light pancake batter. This is usually achieved within 5-10 minutes after adding the soap base to the oils and butters.
Here are some tips for successfully adding shea butter at trace:
- Have the shea butter melted, softened, and ready to add at trace. Melting ahead of time prevents clumping.
- Stir the shea butter into the traced soap batter swiftly to evenly distribute it.
- Aim for adding 1 teaspoon to 1 tablespoon of shea butter per pound of soap base. Too much can accelerate trace too quickly.
- Mix for 2-3 minutes after adding to fully incorporate the shea butter.
- If adding fragrance or color, wait until after the shea butter is fully blended in.
- Work swiftly once shea butter is added, as it can accelerate trace time.
Adding shea butter at trace allows it to fully incorporate into the soap base for beautifully swirled and molded soaps. The shea butter will add skin-nourishing properties without compromising the melt and pour soap base. For specific instructions and tips, see this soapmaking forum thread.
Color and Fragrance Considerations
When adding shea butter to melt and pour soap, it can impact the final color and fragrance retention of the soap in a few key ways:
Shea butter has a natural off-white or ivory color. Adding significant amounts of shea butter to white melt and pour soap base can give it a creamier, ivory tone. If you want a pure bright white final soap color, limit the amount of shea butter added to 2-3 tablespoons per pound of soap base. For other soap colors, the natural ivory tone of shea butter may mute or dull the vibrancy somewhat.
One benefit of shea butter in soap is that it can help anchor scents. The fatty acids in shea butter can cling to fragrance oils and allow the scent to last longer in soap by slowing down evaporation. This is especially useful for light citrus or floral fragrances that tend to fade quickly in cold process soap. Use 3-5% of the total soap weight in shea butter for optimal fragrance retention. See this discussion on how shea butter impacts scent longevity.
Storing Soap with Shea Butter
One of the benefits of melt and pour soap is that it does not require a curing time like cold process soap. However, there are some special considerations when storing melt and pour soap that contains shea butter.
First, it’s important to make sure the soap has fully hardened and cooled before attempting to store it. Shea butter has a higher melting point than other oils, so the soap will take a bit longer to set up. Avoid storing soaps with shea butter in areas that may get warm or humid.
Shea butter is prone to “sweating” – beads of oil appearing on the surface of the soap. To prevent this, it helps to store the soap in a cool, dry area away from heat and light. Wrapping the soap or putting it in an airtight container can also help lock in moisture and prevent sweating.
Lastly, shea butter’s creamy texture can cause some discoloration in melt and pour soap over time. Storing soap with shea butter out of direct light can help slow this process. With proper storage considerations, melt and pour soap with shea butter can remain beautiful and effective for months.
Sources:
https://www.chemistrystore.com/Melt_Pour_Soap-Crystal_Shea_Butter.html
https://www.primalelements.com/products/shea-butter-white-melt-pour-soap-base
Troubleshooting with Shea Butter
Shea butter can cause some common issues in melt and pour soaps that are good to be aware of. Here are some of the most frequent problems and potential solutions when using shea butter:
Chalky or flaky texture on the outside of the soap – This is caused by the shea butter solidifying too quickly and not incorporating fully into the soap base before hardening. To prevent this, make sure to melt the shea butter completely before adding to melted soap base. Stir thoroughly to fully combine. Maintain higher temperatures as the soap sets up. According to Soap Making Essentials, temperatures above 115°F are ideal during the first 1-2 hours of cure time.
Soap too soft/not hardening – Shea butter has a lower melting point than some soap bases, so too much shea butter can make the bars too soft. Use shea butter at 5-15% of total oils/butters. Allow soap to fully harden 48-72 hours before removing from molds. Store in a cool, dry area. Rebatching soft soap with more base is also an option according to The Nerdy Farmwife.
Discoloration – Shea butter can cause soap colors to morph or discolor over time. Use titanium dioxide or other stabilizers if color retention is important. Adding shea butter at trace rather than to the melted base can also help prevent discoloration issues.
Creative Uses of Shea Butter Soap
Shea butter’s creamy texture and moisturizing properties make it a great addition to melt and pour soap bases for creative designs. Here are some ideas for artistic soaps using shea butter:
Swirls – The thick consistency of shea butter holds a swirl beautifully in melt and pour soap. Try swirling in colors like deep pinks, greens, and blues. Add coordinating fragrance oils for matching scents.
Layers – Create stripes, zig-zags, or wavy layers in shea melt and pour soap. Layer complementary colors and switch up the thickness of each layer.
Embeds – Shea’s opacity is ideal for encasing objects in soap. Try embedding dried flowers, seashells, coffee beans, or plastic toys. Let your imagination run wild!
Mica Lines – Use cosmetic micas to create lines and patterns in shea melt and pour soap. Try chevrons, waves, hearts, or geometric designs.
Hangers – Shea’s thick texture makes great soap hangers. Pour into a mold with a built-in hanger. Embed hanging accessories like loofahs, sponges, or shower poufs.
No matter what design you dream up, shea butter’s nourishing qualities will leave skin feeling soft and smooth. Get creative with shea melt and pour soap!
Next Steps and Resources
For those interested in further exploring making melt and pour soap with shea butter, here are some top resources to check out:
The National Shea Butter Association provides more details on the production and uses of shea butter, including in soaps and cosmetics.
Wholesale Supplies Plus has a helpful video on How to Make Shea Butter Soap using their shea-enriched melt and pour soap base.
Soap Queen has an in-depth tutorial on melt and pour soapmaking along with creative recipes to try.
For inspiration, browse shea butter soap recipes on sites like Lovin Soap and The Spruce Crafts.
Investing in a book like Anne-Marie Faiola’s Melt & Pour Soapmaking can take you deeper into working with shea and other botanical ingredients.