Can You Burn Beeswax When Melting It?
Beeswax is one of nature’s most versatile and useful substances. This natural wax has been utilized by humans for over 9,000 years, with evidence of ancient Egyptians using beeswax for embalming mummies. Beeswax was even found in the wreckage of a 7000 year old ship! This remarkable history shows how valuable beeswax has been over the centuries. Read on to learn all about beeswax, from how it’s made to its many uses throughout time.
What is Beeswax?
Beeswax is a natural wax produced by honey bees of the genus Apis (source). It is secreted from eight wax-producing glands on the worker bees’ abdomen and is used by bees to build the comb that forms the structure of their hive.
Bees collect nectar, pollen, and propolis (tree resin) and mix them with enzymes in their abdomen to produce the wax (source). The wax is initially white but becomes yellow as pollen grains and propolis get added in. The wax scales are around 3 mm wide and have a hexagonal shape.
Once secreted by the wax glands, worker bees use the wax scales to build the honeycomb. They chew the softened wax and use it to construct the six-sided cells of the honeycomb. These cells are used to store honey, pollen, and house developing larvae.
Melting Beeswax
Beeswax has a low melting point of around 144-147°F which means it melts easily with low heat. However, proper temperature control is essential when melting beeswax to avoid burning it. According to this WikiHow article, the best way to melt beeswax is using a double boiler.
A double boiler provides gentle indirect heat which helps prevent the wax from getting too hot. Simply fill the bottom pot with water and place a small metal or glass bowl on top without letting it touch the water. Add the beeswax to the top bowl and heat the water in the bottom pot at medium-low heat, stirring occasionally as the wax melts. The water creates a barrier between the direct heat and the wax, regulating the temperature so the wax doesn’t burn. Melting the wax slowly this way gives you more control over the process and ensures the wax doesn’t overheat.
Beeswax can also be melted carefully in the microwave according to these tips, but extra caution must be taken. Microwave the wax in short 10-30 second bursts on low power, stirring in between to evenly distribute the heat. Going too long at high heat can easily scorch the wax.
Proper preparation helps avoid burning beeswax when melting it. Use low, indirect heat and stir frequently for smooth results.
Can Beeswax Burn When Melting?
Yes, beeswax can burn if it gets too hot while melting. Beeswax is flammable and has a flash point of about 400°F to 450°F (204°C to 232°C) [1]. Once beeswax reaches this temperature, the vapors given off can ignite and cause the beeswax to burn. This is why proper melting techniques are important to avoid overheating the wax.
Beeswax contains hydrocarbons that can combust at high temperatures. If the melted wax comes into contact with an open flame or red hot surface, it can easily ignite. Allowing the wax to get too hot can also degrade the quality and change the color to a burnt brown. Slow heating with indirect low temperatures is the safest way to melt beeswax without burning it.
Using a double boiler, microwave, or solar melter are good options, as they heat the wax gradually without direct contact to a flame. Monitoring the temperature and frequently stirring helps prevent hot spots that could cause burning. Proper ventilation of any wax vapors is also important. With care and patience, beeswax can be safely melted without any burning or fire danger.
Tips to Avoid Burning
When melting beeswax, it’s important to use low, even heat to avoid burning it. Here are some tips to help prevent burning:
Use a double boiler or water bath method. This allows the beeswax to melt gradually and evenly without direct contact with high heat. Simply place the beeswax in a container set over a pot of simmering water (Source 1). The water acts as a buffer so the beeswax doesn’t get too hot.

Melt the beeswax on low heat. If melting on the stove or in the oven, keep the temperature under 175°F. Higher temperatures increase the risk of burning (Source 2). Stir regularly so the beeswax melts evenly.
Go slow and be patient. Allow the beeswax to melt gradually to avoid overheating any one section. Rushing the process by turning up the heat often leads to burning.
Watch it closely and remove immediately once fully melted. Stay nearby so you can remove the beeswax as soon as it liquefies. Overheating even for a few extra minutes can start to burn the wax.
Let it slightly solidify before pouring. Allow the melted beeswax to cool and thicken slightly before pouring. This makes it easier to handle without risk of burning your hands.
Signs You’ve Burned It
There are a few key signs that indicate you may have burned your beeswax while melting it:
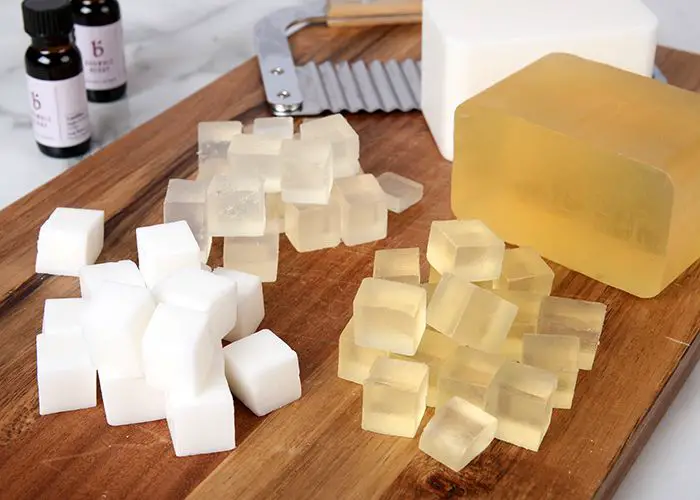
- Color Change – Beeswax typically has a light yellow to tan color when melted properly. Burned beeswax will turn brown or even black.
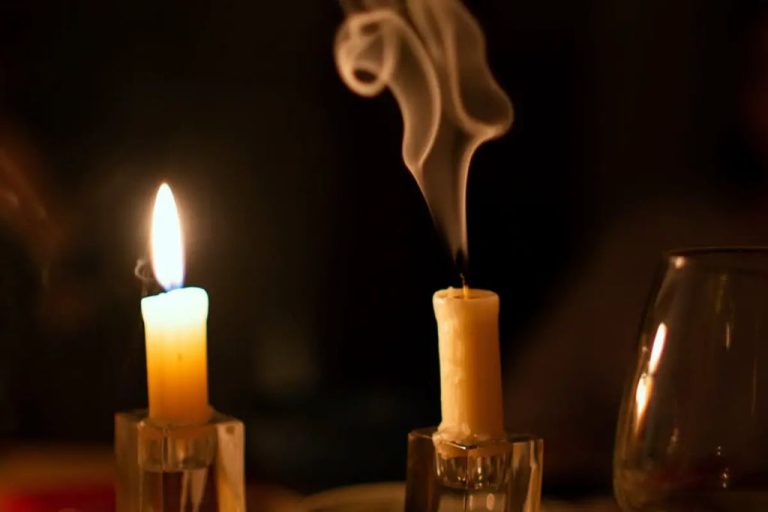
- Smoke – If you notice smoke coming from the melting beeswax, that’s a clear sign it’s burning and getting too hot.
- Scorching – Look for dark scorch marks on the bottom of your melting container. This shows the wax directly touching the bottom has burned.
- Smell – Burning beeswax gives off a distinctive, acrid smell you’ll easily notice.
- Hardened Texture – Once cooled, burned beeswax will have a brittle, crunchy texture compared to the pliable texture of properly melted beeswax.
- Lack of Fragrance – The delicate honey scent of beeswax will be destroyed and undetectable if burned.
Paying attention to these signs can help you avoid ruining your beeswax by overheating. If you notice any of these, turn down the heat immediately and try to salvage what wax you can.
Uses for Burnt Beeswax
If you accidentally burn your beeswax while melting it, don’t worry – there are still plenty of uses for burnt beeswax. The chemical composition of beeswax doesn’t change much when burnt, so it retains many of the same properties as unburnt beeswax. Here are some creative ways to use burnt beeswax:
Make furniture polish – The waxy nature of burnt beeswax makes it a great natural polish for wood furniture and cutting boards. Simply melt the burnt wax, let it cool and harden, and rub it onto wood surfaces as needed.
Waterproof boots – Rubbing burnt beeswax into leather boots can help waterproof them and condition the leather. The wax will soak into the leather and repel moisture.
Create textured art – Let burnt beeswax harden in wax paper or silicone molds to create textured candleholders, decorative plates, or sculpture. The burned spots will add interesting visual texture.
Make fire starters – Mix burnt wax with sawdust or wood shavings to create easy DIY fire starter material for camping trips or fireplaces.
Coat tool handles – Coat the handles of tools like hammers, shovels, or garden shears with melted burnt wax. This gives a protective coating and easier grip.
The black specks and burnt odor of scorched beeswax can actually add rustic character when incorporated into projects. With some creativity, you can give burnt beeswax a new life instead of throwing it away.
Safety Precautions When Melting Beeswax
When melting beeswax, it’s important to take safety precautions to avoid burns or damage. Here are some tips for safely melting beeswax:
Use a double boiler or water bath [1]. This gentle indirect heating prevents the wax from getting too hot and potentially catching fire. The water acts as a buffer between the heat source and the beeswax.
Melt beeswax at low temperatures between 120-180°F [1]. Higher temperatures increase the risk of burning the wax. Go slowly and stir frequently.
Avoid direct heat like stovetops, microwave, or ovens which can scorch the wax. The wax can heat unevenly and reach combustible temperatures.[1]
Use proper equipment like stainless steel or glass containers. Avoid plastic which can melt and contaminate the wax.[1]
Work in a well-ventilated area to prevent inhaling any fumes. Open windows or use a fan.[2]
Wear protective gear like oven mitts and long sleeves in case of splashing. Molten wax can cause severe burns.[2]
Frequently Asked Questions
Here are some common questions related to burning beeswax:
How long can you safely burn a beeswax candle?
Beeswax candles can generally be safely burned for up to 4 hours at a time. Allow the candle to cool completely before relighting. Burning for longer durations or repeatedly relighting while the wax is still warm can cause overheating and lead to issues like cracking or sooting 1.
Does beeswax produce toxic fumes when burned?
No, beeswax does not produce toxic fumes when burned properly. It has a natural, honey-like scent. However, if overheated or burned with inadequate ventilation, it can produce more smoke and odor than desired 2.
How do you know if you’ve burned beeswax too long?
Signs of overheating beeswax include cracking, cratering, sooting, and the wax pooling unevenly. The candle may also tunnel or form a hole where the wick is. Allowing the wax to overheat ruins the candle and can produce unwanted smoke or odors 3.
Conclusion
In summary, melting beeswax does carry a risk of burning if overheated. The wax can start to smoke, discolor, or take on a burnt scent if you aren’t paying close attention. Going slow, monitoring the temperature, and using a double boiler method can help avoid burning. If you do notice signs of burning, don’t worry – the wax can still be used for less cosmetic purposes like waterproofing or candle making. When working with beeswax, keep safety top of mind by turning on your ventilation and wearing protective equipment. With care and patience, you can successfully melt beeswax for all kinds of DIY projects.
To recap, keep the temperature low and stir constantly when melting beeswax. If you do notice darkening, smoking, or a scorched smell, remove it from the heat immediately and adjust your approach for next time. Don’t throw burnt beeswax away – it can be repurposed. Finally, let this guide equip you with the knowledge needed to heat beeswax properly so you can reap its many benefits.
Now that you’re equipped with expert tips for avoiding burnt beeswax, you can move forward confidently in your melting projects. Happy crafting!