What’S The Best Way To Melt Old Candles?
Candle making can be an enjoyable hobby for creative types, but it can also get expensive buying all new supplies. Plus, it feels wasteful to throw away the leftover bits of candles – sometimes there’s quite a lot of usable wax left! Instead of sending old candles straight to the landfill, you can melt them down and reuse the wax. This helps you get more mileage out of your candle supplies. It’s also eco-friendly since recycling old wax reduces waste. With a few simple tools and materials on hand, you can melt old candle wax and pour it into creative new candles, cut wax melts, or other fun projects.
Gather Materials
To get started melting candles, you’ll first need to gather the necessary materials:
- Old candles – The main ingredient! Any old candles will work, whether partially burned or unburned. Gather all the old candles you want to melt down.
- Double boiler or makeshift double boiler – This is crucial for evenly melting the wax. You’ll need either a stove-top double boiler, or you can make your own by nesting two pots/pans. The bottom pot should hold a few inches of water and the top pot should be larger to hold the wax.
- Glass or metal container for melted wax – You’ll need something heat-safe for the melted wax to collect in, like a glass jar, tin can, or stainless steel bowl.
That covers the key materials needed. Make sure to have all of these ready before starting the melting process.
Prepare Workspace
When getting ready to melt candles, select a clear, flat workspace like a countertop or table. Lay down a few sheets of wax paper or aluminum foil to protect your work surface. The wax paper will catch any wax drips and make clean up easier later. Be sure to clear the area of any clutter, plants, electronics or other items that could get damaged. Wax can stain surfaces or be difficult to remove if spilled, so take precautions.
You’ll want good ventilation too, like working near an open window or turning on a fan. Melting wax gives off fumes that can be strong smelling. Consider wearing an apron as well to protect your clothing from splatters or spills. Preparing your workspace thoughtfully ahead of time will make the candle melting process smoother.
Cut or Break Candles
One of the keys to efficiently melting old candles is to start by cutting or breaking them into smaller pieces. This increases the surface area exposed to heat, allowing the wax to melt faster. Use a sharp knife to slice pillar candles or cut novelty candles into chunks about 1-2 inches wide. For container candles, you can break the wax into pieces by hand or pound it with a hammer if it’s very hard.
Breaking candles first serves a couple purposes. Smaller pieces melt quicker, which saves you time and effort. It also lets you melt a little at a time as needed, rather than heating a large quantity of wax. And if any wicks or foreign objects are hidden in the candles, chopping them up helps expose these. Just take care when cutting or breaking candles to avoid injury.
Set Up Double Boiler
A double boiler is necessary for safely melting candle wax. This setup uses indirect heat to warm the wax gently and evenly. Here’s how to put one together:
- Fill the bottom pan about halfway with water – Use a saucepan, stock pot, or other heatproof container for this.
- Place a mixing bowl, glass measuring cup, or other heat-resistant container inside the pan – Make sure it fits securely.
- The bottom pan should touch the container above, and the water should not be high enough to touch it.
- Heat the water until simmering. Adjust the flame to maintain a gentle simmer.
With this double boiler setup, the wax will melt slowly and evenly without burning. Never allow the container holding the wax to touch the hot water below.
Melt the Wax
Once your double boiler is set up, you can begin melting the candle wax. Add the cut up candle pieces directly into the water bath. Be sure not to overcrowd the double boiler. Overfilling can cause the wax to heat unevenly.
Turn the heat to low-medium, keeping a close eye on the temperature. You want the water to stay just barely simmering, between 180-200°F. The wax should melt slowly at this temperature. Stir frequently with a wooden spoon or silicone spatula to help the melting process. This keeps the wax from scorching on the bottom.
Melting too quickly or at too high a temperature can burn the wax, resulting in discoloration and unpleasant smells. Be patient and keep stirring as the solid chunks transition to a fully liquid state. All the pieces should be fully melted and incorporated into a smooth liquid wax.
Strain and Clean Wax
Once the wax is completely melted, carefully pour it through a strainer or cheesecloth to remove any debris like old wicks or sediment. Allow the wax to cool slightly so it thickens up a bit, making it easier to handle. Then, skim off and discard any scum or foam that has risen to the top of the wax.
Straining is an important step to remove impurities and get clean wax ready for reuse in new candles. Letting the wax cool a bit helps prevent spills, while skimming the top takes care of any residue. Now you’ll have strained, debris-free wax ready for pouring into containers or making new candles.
Store and Reuse Wax
Once your candle wax is melted and strained, you’ll want to pour it into a heat-safe container to store for later use. Glass jars or tin cans both work well. Make sure the container is clean and dry before pouring in the liquid wax.
It’s crucial to let the wax cool fully before sealing the container. Put the lid on while the wax is still warm, and it can create a vacuum seal that’s difficult to open later. Allow several hours for the wax to return to room temperature and harden before closing the container.
Save your recycled candle wax for fun DIY projects. You can experiment with different scents by adding drops of essential oils. Soy wax blends particularly well with various oils. The wax also works nicely for making candles, wax melts, or homemade crayons.
Get creative with the colors by mixing in oil-based paints or liquid candle dyes. Or leave it its natural color for an earthy, handmade look. Your reused candle wax opens up many possibilities for eco-friendly crafts.
Safety Tips
When melting candles, it’s important to keep safety in mind. Here are some tips to melt candles safely:
- Work in a well-ventilated area – Melting wax can produce fumes, so be sure to open windows or turn on fans to keep the air circulated.
- Avoid spills – Wax can easily spill over the top of containers when melting, so monitor it closely and don’t overfill pots.
- Don’t overheat the wax – Heat wax slowly and don’t let it reach temperatures above 185°F / 85°C. Overheating can cause wax to combust.
Following basic safety practices will help prevent burns, respiratory irritation from fumes, and potential fires. Melting candles requires care, but taking precautions allows you to reuse old wax safely.
Creative Uses
Candle wax can be melted down and reused for many creative purposes. Here are some ideas:
Make New Candles
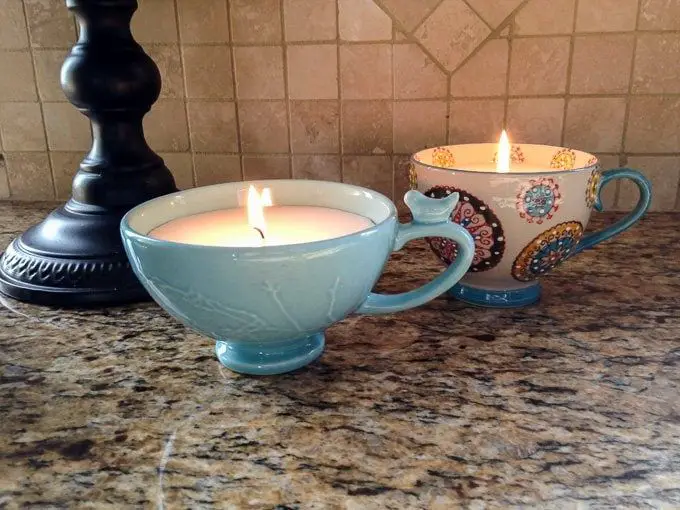
One of the easiest ways to reuse old candle wax is to simply make new candles. You can pour the melted wax into candle molds or jars to create brand new candles of any shape and size. Adding essential oils or candle dyes will allow you to customize the look and scent.
Wax Melts
Wax melts are a popular craft as they provide ambiance and fragrance without the need for a wick or flame. To make wax melts, pour the melted candle wax into silicone molds and add a few drops of essential oils once cooled. The wax melts can then be placed in a wax warmer to fill the room with pleasant aromas.
Fire Starters
For a functional upcycling project, repurpose old candle wax into fire starters for fireplaces and campfires. Simply form the wax into small balls or blocks, or pour it into egg carton molds. The wax fire starters will help kindle fires quickly and easily.


