How Do You Color Candles Naturally?
Coloring candles with natural dyes is a great way to create beautiful, eco-friendly candles without using synthetic dyes. Natural dyes allow you to achieve a range of soft, earthy colors that feel soothing and harmonious. Coloring candles naturally connects you back to traditional candle making methods that use ingredients from nature. Natural candle dyes can be made from materials like fruits, vegetables, spices, herbs, teas, and flower petals. Making dyes and coloring the candles yourself gives you the flexibility to create the perfect colors for your home. The process is also creative and rewarding.
In this guide, we’ll cover everything you need to know about coloring candles naturally, from choosing waxes and dyes to preparing the dyes and achieving different color shades. We’ll also provide troubleshooting tips and examples of inspiring naturally dyed candles you can create.
Why Color Candles Naturally?
Using natural dyes for candle making has several notable benefits compared to synthetic dye options. According to YouWish (2022), the main benefits of natural candle dyes include:
- Environmentally friendly – Most natural dyes come from plants, fruits, and vegetables, making them eco-friendly and biodegradable.
- Non-toxic – Natural dyes do not release harmful fumes when burned like some synthetic dyes.
- Soft, natural scent – Many natural dyes impart a subtle, pleasant fragrance to candles.
- Vibrant colors – Natural dyes can produce a wide range of vivid colors in candles.
- Customizability – It’s easy to mix natural dyes to create custom, signature colors.
- Economical – Common household ingredients like turmeric, paprika, and blueberries can be used.
With benefits like these, it’s clear why more candle makers are exploring natural plant-based dyes for their candles rather than synthetic options.
Choosing Your Candle Wax
When choosing a candle wax for natural dyes, some types work better than others. The most common waxes used are:
Paraffin Wax – This petroleum-based wax accepts dye easily and produces vibrant colors. However, paraffin isn’t considered an eco-friendly option. According to Hive and Honey Candle Co. (https://hiveandhoneycandleco.com/collections/eco-liquid-dyes), paraffin wax works well with their liquid dyes.
Soy Wax – Made from soybeans, this renewable and biodegradable wax can be dyed using natural materials. According to Nature’s Garden Candles (https://www.naturesgardencandles.com/candle-making-supplies/shop/candle-coloring/), soy wax accepts dye easily but may produce muted or lighter colors compared to paraffin.
Beeswax – Beeswax can be naturally colored using flower petals, spices, herbs, and other botanicals. It has good dye retention but colors tend to be subtle and translucent. Proper preparation and adequate dye material is needed for rich colors.
Gel Wax – A mineral oil-based transparent wax, gel wax can produce bright colors with liquid dyes. However, beeswax and soy wax are often better choices for natural dyes.
Natural Dye Materials
There are many common food and plant materials from nature that can be used to naturally dye candles. When using food, focus on fruits, vegetables, spices, and herbs that are brightly colored and stain easily. Some top options include:
- Red/Pink: Beets, cherries, raspberries, red cabbage, paprika
- Orange: Carrots, oranges, apricots, turmeric
- Yellow: Lemon peels, saffron, turmeric, chamomile, calendula
- Green: Spinach, parsley, nettle, mint, basil, rosemary
- Blue/Purple: Blueberries, blackberries, purple cabbage, hibiscus, lavender
When using plant materials, flowers, leaves, stems, roots, bark, and oils can all be used to extract dye. Some options include marigolds, sunflowers, roses, violets, and more. Herbs like lavender, mint, and rosemary also make excellent natural dyes. Source
Preparing the Dye
Once you have selected your preferred natural dye materials, you’ll need to prepare them properly to extract the colorful pigments. Here are some tips for prepping common natural dyes:
Plant materials like flowers, leaves, roots, barks, etc. will need to be washed and then chopped or ground into small pieces using a blender, food processor, mortar and pestle, etc. Allow the chopped plant matter to soak in hot water for at least 30 minutes up to overnight to fully extract the dyes. Strain out the solids. You may need to experiment with amounts and timing to get the desired color intensity.
For berries, fruits, and vegetables, cook or boil the chopped produce in water for 30-60 minutes until softened. Strain out the solids. You can also use leftover cooking water from boiling beets or blueberries as a dye.
Some spices like turmeric, cinnamon, and paprika can simply be whisked into hot water to create a dye bath. Start with 1-2 tablespoons of spice per cup of water.
For tree barks and roots like madder root, allow them to soak in warm vinegar or alcohol for several hours to a full day. This helps extract more of the pigment. Strain and use the strained liquid as dye.
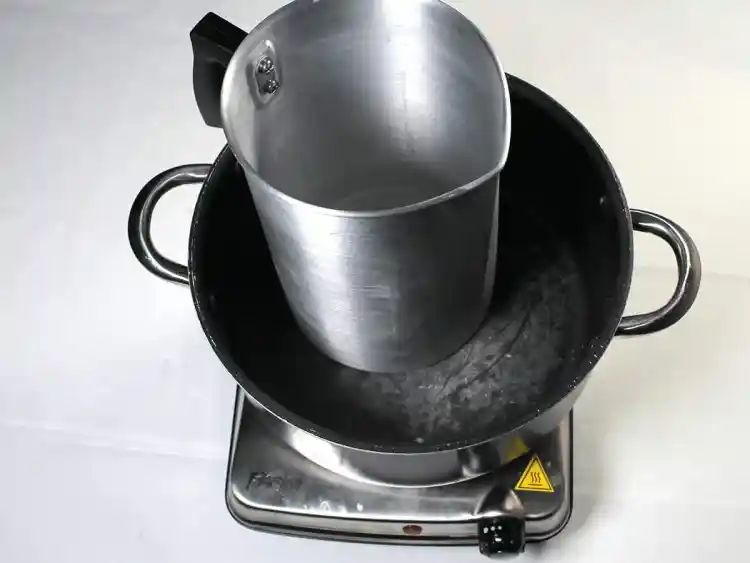
Always use non-reactive pans and utensils like stainless steel or glass when prepping dyes. Avoid reactive metals like aluminum. Wear gloves to prevent staining hands.
Store prepared natural dye liquids in airtight glass jars out of direct sunlight. They will keep for several weeks in the fridge.
CandleMakingHelp.com.au provides helpful details on extracting dye from specific natural materials like flowers, spices, barks, and more. When trying a new dye material, follow preparation instructions from trusted sources.
Dyeing the Candle Wax
There are a few techniques for infusing wax with natural dyes to achieve vibrant colors:
The easiest method is to add powdered or liquid dye directly to melted wax. Use about 1 teaspoon of powdered dye per 1 pound of wax. Mix thoroughly and test the color before pouring into jars or molds. Add more dye if needed to reach the desired intensity (Source).
For liquid dyes, add a few drops at a time, mixing well before adding more. Liquids allow more control over the exact shade. Start with just 2-3 drops per pound of wax (Source).
Another technique is to create a dye bath by simmering plant materials in water, straining the liquid, then adding the dye-infused water to melted wax. This extracts more pigment for richer colors. Simmer dark berries, flowers, herbs, spices, etc. for 30+ minutes before straining (Source).
Layering wax of different colors is also an option. Carefully pour colored wax into jars, then add a top layer of white or differently colored wax. This creates depth and interest in the final candle.
Achieving Different Colors
One of the best aspects of dyeing candles naturally is the ability to mix dyes together to produce a wide spectrum of colors. Much like mixing paints on an artist’s palette, combining candle dyes allows you to create custom hues and shades beyond the base dye colors. For example, blending equal parts red and yellow dyes will produce a vibrant orange candle. Mixing a greater portion of red will shift it toward a red-orange, while more yellow will tone it down to a golden yellow-orange.
Candlemakers often find it helpful to use a candle dye color wheel when mixing dyes. This acts as a visual guide showing the relationship between colors to help predict the results of blended dyes. Complementary colors like red and green occupy opposite sides of the wheel, while analogous colors sit side-by-side. Following the color wheel helps prevent muddy brown colors and guides you toward beautiful, harmonious combinations like purple, blue and green for an ocean-inspired candle. Refer to sources like the Candle Making Tips – Color Wheel for guidance when blending dyes.
With strategic mixing guided by the color wheel, candlemakers can produce not just primary and secondary colors, but an infinite array of dazzling tertiary shades. This allows for nuanced ombré effects, tie-dyed marbling, or even rainbow layers transcending the base dye palette. Approach color mixing systematically yet creatively to make candles that are truly one-of-a-kind.
Troubleshooting
No matter how careful you are, issues may arise when dyeing candles. Here are some common problems and solutions for troubleshooting naturally dyed candles:
Fixing Color Issues
If your candle has dye spots or splotches on the surface, the dye chips or blocks did not fully dissolve before pouring. Always stir thoroughly and allow dye materials to dissolve completely before adding to wax. Small dye particles can get trapped on the surface as the wax cools and harden there (Source).
Over time, some natural dyes may fade or cause discoloration in candles. Certain fragrances contain ingredients like vanillin and cinnamon that can react with dyes and change candle color. Using an oil additive can help prevent fading of natural dyes (Source).
Fixing Scent Issues
Adding too much fragrance oil can cause scent throw issues and frosting. Use the recommended usage rate for fragrance oils. Overheating wax or pouring candles at too high of a temperature can also negatively impact scent (Source).
Preventing Drips
Candles that are too hot can cause wax to pool and drip down the sides. Allow candles to fully cool and cure for 24-48 hours before burning. Trim wicks to 1⁄4” before lighting. Use a wax with a higher melting point if dripping continues to be an issue.
Storing and Caring for Dyed Candles
Properly storing your hand-dyed candles is important for preserving their beautiful colors and scents. Here are some tips for storage:
Keep candles in a cool, dry place away from direct sunlight. Heat and light can cause the colors to fade and the scents to dissipate faster. Store candles at room temperature or slightly cooler (but not in the fridge or freezer). According to this article, fragrance oils and waxes are sensitive to heat and should be kept under room temperature.
Store in airtight containers to maximize scent retention. Glass jars, metal tins, or plastic containers with tight lids work well. Avoid containers that are not airtight. Make sure there is some space around each candle and they are not crammed together.This candle storage guide recommends avoiding overly crowded storage.
Keep wicks trimmed to prevent soot buildup which can discolor candles. Trim wicks to 1⁄4” before lighting and trim again if wicks get extremely long while burning.
Handle candles carefully to avoid color loss. Dyed wax exteriors can rub off onto surfaces. Take care not to chip or scratch the wax.
Rotate stock and use older candles first before newer ones. This will ensure none expire before being enjoyed.
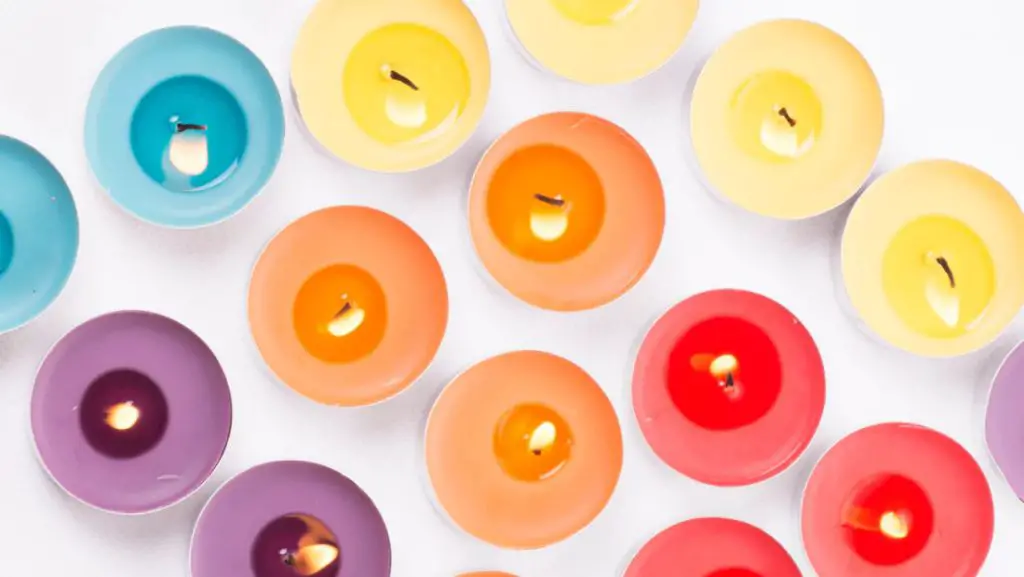
Inspiring Examples
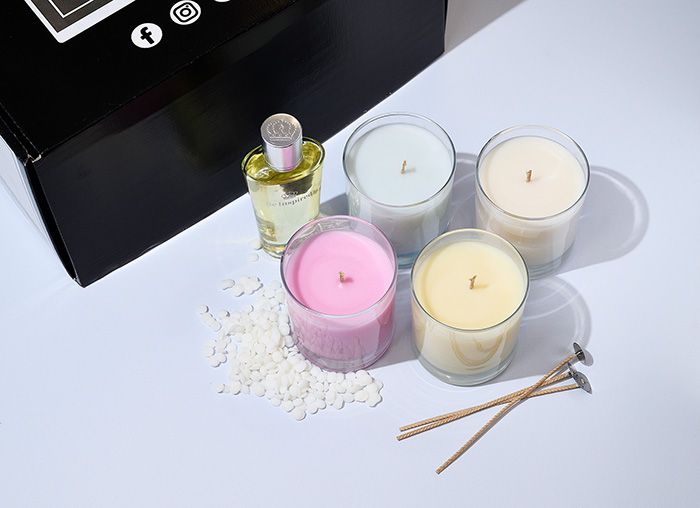
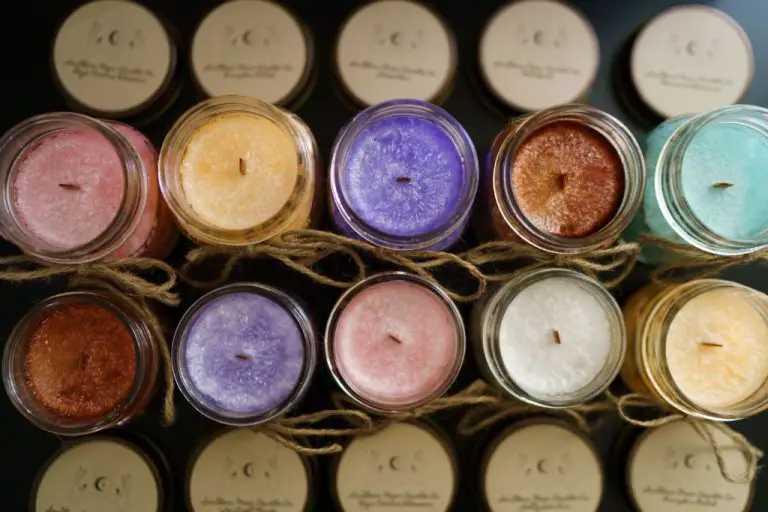
Seeing the stunning colors and patterns achieved through natural dyes is the best inspiration when making your own naturally dyed candles. The vibrancy of the dyes paired with the soft glow of candlelight creates a beautiful effect. Here are some inspiring examples of naturally dyed candles:
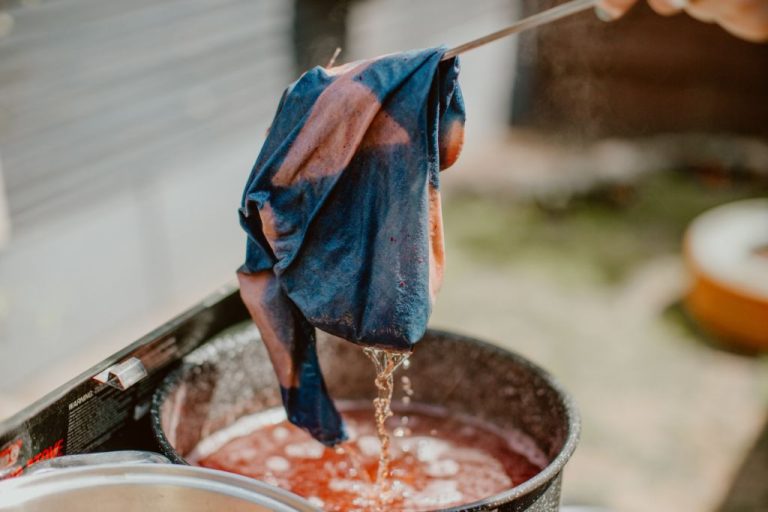
These hand-dipped beeswax tapers from AtaCama Home in Oaxaca, Mexico showcase brilliant jewel tones like deep red, purple, and golden yellow (source). The saturated colors are achieved using natural dyes like cochineal and indigo.
This taper candle dyed with turmeric from Juniper Ridge is a stunning golden orange color (source). Turmeric produces a sunny color ranging from bright yellow to deep orange.
These naturally dyed soy candles from Wilder Goods Co. use dried flower petals and plants to create beautiful patterns and colors (source). Gentle hues like lavender and sage green are achieved.
As these examples show, an incredible spectrum of colors can be achieved using natural dyes. Let these beautifully colored candles inspire your own creations.