How Long To Burn A Candle To Prevent Tunneling?
What is Candle Tunneling?
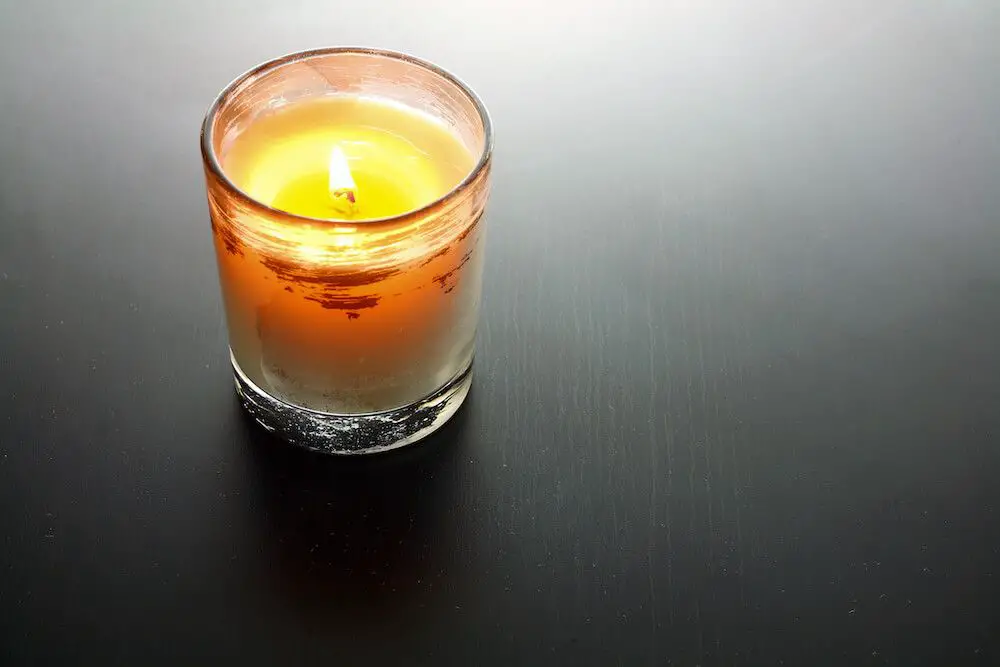
Candle tunneling refers to when a candle forms a cave or tunnel in the wax as it burns. This happens when only the wax immediately around the wick melts from the heat of the flame, creating a deep narrow hole rather than liquefying all the wax evenly (Prosperity Candle, 2022).
Tunneling occurs because the candle is burned for too short of a period before being extinguished. This prevents the heat from sufficiently spreading across the entire top layer of wax. When a candle is repeatedly lit for only a few minutes at a time, tunneling continually gets deeper, leaving much of the outer wax unused (Harlem Candle Company, 2023).
Why Does Tunneling Occur?
Tunneling occurs due to the capillary action of the candle wick. As the wick burns, it draws up melted wax through capillary action. This allows the flame to continue burning. However, the heat of the flame only melts wax in the immediate vicinity of the wick. The melted wax pool gets deeper around the wick, while the rest of the candle remains solid. This results in a tunneled shape as opposed to an even burn across the entire top surface of the candle. As one source explains, “An improperly sized wick that doesn’t produce enough heat” is a main cause of tunneling
(https://kalamazoocandle.com/blogs/learn-about-candles/how-to-fix-candle-tunneling).
Preventing Tunneling
One of the best ways to prevent tunneling is to burn the candle for at least 1 hour at a time. Longer burn times allow more wax to melt and pool evenly around the wick, which helps prevent the tunneling effect. According to Armatage Candle Co., you should burn a candle for at least 3 hours the first time to help the wax melt properly.
It’s also important to trim the wick to the proper length before lighting. Long wicks tend to create hotter flames that melt more wax directly surrounding the wick, leading to tunneling. Trim wicks to 1⁄4 inch before lighting to maintain an ideal flame size and encourage even wax melting.
Allowing the candle to cool completely between burns can also help prevent tunneling by giving the wax time to settle and solidify evenly. Avoid blowing out candles when they still have liquid wax pools, as this can disrupt even hardening.
Wick Length

One of the main causes of tunneling is an improper wick length. According to Candle Business Boss, long wicks that extend further into the wax pool tend to smoke excessively and burn too quickly. This rapid burning can create a tunnel down the center of the candle. On the other hand, wicks that are too short may not fully melt the top layer of wax, leading to an uneven melt pool and eventual tunneling.
To prevent tunneling, it is generally recommended to trim candle wicks to 1/4 inch before lighting. This provides an ideal length to promote full wax melting without excess smoking. As Candle Business Boss notes, 1/4 inch is a good starting wick length, though some adjustment may be needed based on factors like wax type and vessel size. Overall, maintaining wicks at the proper length is key for getting consistent, even burns and avoiding tunneling issues.
Candle Placement
One of the most effective ways to prevent tunneling is to be mindful of where you place your candle. You’ll want to position your candle away from drafts, vents, fans, open windows, and frequently opened doors. Air currents around the candle can cause the wax to melt unevenly, making tunneling more likely.
Find a spot that’s free of drafts and out of high traffic areas. Many experts recommend positioning your candle on a table or shelf instead of the floor. This raises the candle up away from drafts that may occur near vents or under doors.
Also be aware of ceiling fans, portable fans, or desk fans. The constant air movement can disturb the melt pool. Position the candle a good distance from these types of fans to prevent tunneling.
Frequently opened doors can also cause issues. The rush of air when a door opens can impact the candle flame and melt pool. Keep the candle away from entries, exits, and high traffic doors.
With some awareness and experimenting with placement, you can find the optimal draft-free spot for your candle. This small preventative step can make a big difference in minimizing tunneling.
Candle Cooling
When a candle starts to tunnel, a key technique to prevent further tunneling is allowing the candle to completely cool and solidify between burns. According to Your Foolproof Guide to Burning a Candle Correctly, it is recommended to allow candles to cool for at least two hours before relighting. This allows the melted wax to fully harden again.
During the cooling period, it is important to avoid drafts around the candle. Air currents from fans, open windows or air vents can disrupt the straight, even cooling of the wax and contribute to uneven melting and tunneling. Place the candle in a spot protected from drafts while it cools. Once the wax has completely solidified, the candle can be relit for its next burn.
Proper Storage
Proper storage is key to preventing tunneling in candles. According to Baisun Candle Co, you should store candles upright and keep the lid on when not in use. Storing candles upright prevents the wax from pooling to one side or the other which can lead to uneven melting and tunneling. Keeping the lid on helps protect the candle from dust, bugs, and other contaminants.
Candles should also be kept out of direct sunlight and away from heat sources according to Harlem Candle Company. Heat and sunlight can cause the candle wax to melt unevenly. Storing candles in a cool, dark place like a cupboard or drawer will help the wax retain its shape and burn evenly when lit. Proper storage is a simple way to help prevent frustrating tunneling issues.
Fixing a Tunneled Candle
If your candle develops tunnels while burning, there are some simple steps you can take to fix the issue and prevent wasting more wax. The key is to carefully melt the remaining candle wax and pour it into the tunneled sections to level out the top.
Start by gathering a microwave safe container, candle wax melts, or a melt pour pot designed for candle making. Carefully slice off the top layer of wax above the tunneled sections with a knife. Place the slices of hardened wax into your microwave safe container or melt pour pot. Microwave the wax in 30 second intervals, stirring between each, until the wax is completely melted. The ideal temperature for pouring is between 150-165°F.
Once melted, carefully pour the wax into the tunneled sections, filling each one slowly to prevent air bubbles. Pour just enough to slightly overfill the tunneled area. Allow the wax to fully cool and harden before lighting the candle again. Be extremely cautious when handling melted wax to avoid burns.
This pour method allows you to reuse the remaining candle wax, while returning your tunneled candle to an even burn surface. Take care not to pour too much wax, as this can lead to overflow or waste (Source: https://kalamazoocandle.com/blogs/learn-about-candles/how-to-fix-candle-tunneling). With a simple melt and pour, you can give a tunneled candle new life.
When to Toss a Candle
If a candle becomes excessively tunneled, there comes a point where it may be impossible to save. Generally, if the tunnel goes more than 50% of the way down the candle, it’s time to toss it out. At this point, the wick is usually inaccessible within the deep tunnel, making it impossible to trim or fix.
Additionally, if the wick becomes completely embedded in wax due to extreme tunneling, the candle should be discarded. With no wick accessible, there is no way to light or fix the candle properly.
It’s also a good idea to toss out candles that have repeatedly tunneled, even after fixing attempts. If a candle continues to tunnel each time you burn it, it likely has an improper wax-to-wick ratio that cannot be corrected.
While it can be disappointing to toss out a seemingly new candle, excessive tunneling presents safety hazards like wax pooling and smoke. It’s best to know when to call it quits on a damaged candle rather than risking fire or unhealthy burning.
Preventing Future Tunneling
There are several key takeaways for preventing tunneling in the future:
Only trim the wick to 1⁄4 inch before lighting to allow for proper melt pool.According to Harlem Candle Company, trimming to 1⁄4 inch reduces risk of tunneling.
Allow the candle to burn all the way through the top layer of wax before extinguishing. Let the candle burn for at least 2 hours for large jars or 1 hour for smaller containers per CNET recommendations so all wax melts evenly.
Keep wicks centered as the candle burns down. Reposition wicks if needed to maintain an even melt pool.
Allow the wax to cool completely before relighting. Let the candle sit for at least 2 hours before burning again according to Harlem Candle.
Store candle properly when not in use. Keep candle covered and away from drafts or temperature extremes.
Following these best practices for wick length, burn time, cooling, wick centering, and storage will help prevent tunneling and ensure future candles burn evenly from top to bottom.


