How Do I Get Into Candle-Making?
Candlemaking is the craft of creating candles at home by melting wax and adding scent and color. It has grown increasingly popular over the last decade as both a fun hobby and home business opportunity. The candle industry in the U.S. is estimated at $3.8 billion annually, with demand continuing to grow for artisanal, customized candles.
The appeal of candlemaking comes from its creative, hands-on nature and the ability to personalize candles. It only requires a few simple supplies like wax, wicks, fragrances, and dye to get started. Many enjoy experimenting with different waxes, scents, and vessels to design elegant or funky candles. The process is quite soothing and allows for artistic expression through color combinations and candle shapes.
Candlemaking provides an enjoyable respite from digital devices, making it a relaxing hobby. Creating homemade candles also allows the maker to control the ingredients ensuring high quality and allergy-friendly options. Candles make great gifts and can be a potential side business. Overall, candlemaking is an accessible, fulfilling hobby that sparks creativity.
Types of Candlemaking
There are several different types of candles that can be made through candlemaking. The main types include:
Soy vs Paraffin Wax Candles
The most common candlemaking waxes are soy wax and paraffin wax. Soy wax is made from soybeans and is a natural, renewable resource. It burns cleaner than paraffin with less soot. Paraffin wax is a petroleum byproduct that is inexpensive and easy to work with, making it popular for candlemaking. However, it produces more soot.
Container Candles
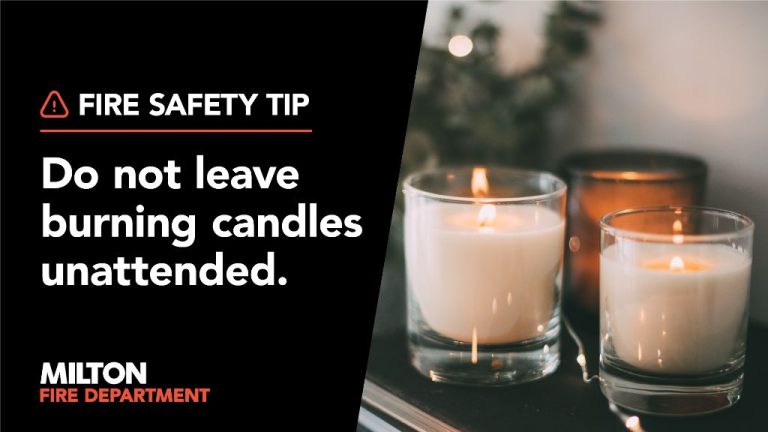
Container candles involve pouring wax into a glass or metal vessel like a jar or tin. The wick is secured to the bottom before pouring in the wax. Container candles are beginner-friendly and allow you to reuse and upcycle containers.
Votive Candles
Votive candles are small, compact candles designed to fit in candle holders. They typically measure 1.5 x 2 inches. Votive candles feature a simple design that makes them easy to produce in batches.
Pillar Candles
Pillar candles have a classic cylindrical shape and stand freely on their own without a container. They come in a variety of sizes like tapers, columns, and votives. Pillar candles require wicking properly so the wick stays centered as the candle burns.
Rolled Candles
Rolled candles are made by rolling sheets of beeswax into a spiral shape. These artisanal candles take time and skill to create but burn slowly and cleanly. The rolled layers and visible edges give these candles a unique, handcrafted look.
Candlemaking Supplies
There are a few key supplies you’ll need to get started with candlemaking:
Wax
The wax you choose is one of the most important aspects of candlemaking. The main types of wax for candles are paraffin, soy, beeswax, and palm wax. Paraffin wax is derived from petroleum and is the most commonly used. It’s relatively inexpensive and makes candles that burn cleanly. Soy wax is made from soybeans and is a renewable and environmentally friendly option. Beeswax produces candles with a lovely honey aroma and palm wax is hard and glossy. You can also blend waxes to achieve your desired properties (Amazon).
Wicks
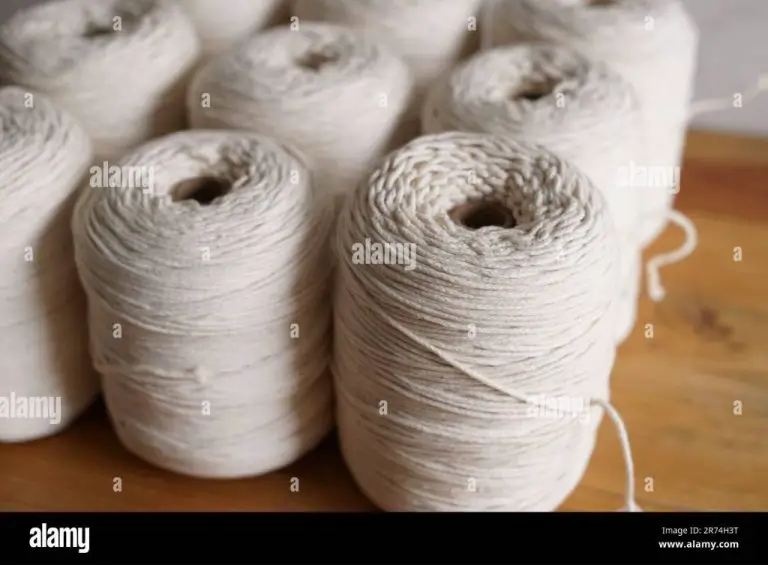
Choosing the proper wick is key for getting the best burn for your candle. The wick needs to be wide enough to not drown in the wax or mushroom at the top. Common materials are cotton, paper, and zinc core. Follow manufacturer guidelines on wick sizes.
Containers
Candle vessels come in all shapes, sizes and materials like glass, metal and ceramic. Make sure to select a container that matches the type of wax and desired burn properties. Choose containers with at least 1-2 inch clearance to prevent overheating (ThomasNet).
Dyes and Scents
Adding dyes and scents allows you to customize the look and aroma of your candles. Liquid candle dyes are commonly used to color the wax. Essential oils, fragrance oils, and botanicals can provide appealing scents.
Decorations
Decorate your candles with items like flowers, seashells, coffee beans, glitter, and more. This allows you to add your personal creative touch. Just be mindful of placing decorations too close to the wick where they could disrupt burning.
Choosing Your Wax
The wax you choose is one of the most important decisions in candlemaking. The main options are paraffin wax, soy wax, beeswax, and wax blends.
Paraffin wax is a petroleum byproduct made from crude oil. It has excellent scent throw and makes durable, long-lasting candles. However, some consider it less environmentally-friendly. Paraffin melts at 130-150°F.
Soy wax is made from soybeans. As a renewable, plant-based wax, it’s more eco-friendly than paraffin. Soy wax has a lower melting point at 115-135°F, producing a softer candle. The scent throw may not be as strong.
Beeswax is all-natural wax made by honey bees. It has a lovely natural honey aroma when unscented. Beeswax is expensive but makes beautifully fragrant, eco-friendly candles. The high melting point of 140-150°F gives good rigidity.
Wax blends combine different waxes to optimize qualities. Popular blends are soy with paraffin or beeswax. This balances performance with eco-friendliness. The melting point varies based on the blend ratio.
Consider whether you prioritize scent throw, rigidity, eco-friendliness, or cost. Test different waxes to see which works best for your needs. The right wax can elevate your homemade candles.
Wick Selection
Selecting the proper wick is one of the most important aspects of candle making. The diameter and type of wick will determine how your candle burns. You’ll want to test different wick sizes and types to find the best fit for each candle you make.
The wick diameter should match the diameter of your candle container. Thinner candles require thinner wicks, while wider candles need wider wicks. As a general rule, use a wick approximately 1/3 the diameter of your container. For example, a candle in a 3-inch wide container would use a wick around 1-inch wide (see source).
There are different types of wick materials to choose from including cotton, wood, and paper-cored wicks. Cotton wicks are common for container candles. Paper-cored wicks help sustain a full melt pool and are good for pillars or votives. Test out different wick types to see which performs best for your specific wax and fragrance combination (see source).
Always test your wicks before selling or gifting a new candle. Check for an even burn, wax pool diameter, mushrooming, soot, and more. Testing helps dial in the perfect wick for that candle (see source). Wick testing takes trial and error, but is vital for candlemaking success.
Adding Scent
One of the most important parts of candle making is choosing and adding the perfect scent. You have two main options for scenting candles – fragrance oils or essential oils.
Fragrance oils are artificially created scents designed specifically for candle making. They come in a huge variety of scents from floral to food to seasonal. Fragrance oils are typically stronger than essential oils and provide a more intense scent throw in candles. Follow the usage recommendations on the bottle, usually between 6-10% of wax weight.
Essential oils are natural plant oils extracted from flowers, herbs, fruits etc. They provide a more subtle aroma in candles. You typically need to use more essential oil than fragrance oil, around 10-15% of wax weight. Be aware that some essential oils like cinnamon and clove can be irritating when burned.
You can mix scents by combining fragrance or essential oils together. Start with small test batches to find pleasing scent combinations before scaling up. Some popular blended scents are lavender-vanilla, sage-citrus, and pine-cedar.
No matter what scent you choose, avoid adding too much or you can end up with an overpowering candle. Start with the recommended amount and adjust in future batches if needed. Proper scenting is key for a pleasing candle experience.
Preparing and Melting Wax
Properly preparing and melting wax is a crucial step in candle making. Before melting any wax, gather all necessary candle making supplies including wax, dye, fragrance, and any melting equipment. The most common ways to melt wax are using a double boiler, microwave, or dedicated wax melter. When melting wax, be sure to work in a well-ventilated area and avoid direct flames. Melt wax slowly in short intervals, stirring frequently to prevent burning. For most waxes, aim for a pouring temperature around 140-170°F.
To melt wax in a double boiler, fill the bottom pot with a few inches of water and place the top pot with wax above, taking care no water splashes into the wax. Heat the water to a simmer, stirring the wax until fully melted. A microwave can also melt wax effectively in ceramic or glass containers. Melt the wax 1-2 minutes at a time, stirring between intervals. Countertop wax melters with a heating element and built-in thermometer provide excellent temperature control.
Before adding color or fragrance, melt the plain wax fully. Use liquid dye formulated for candles at .5-1% by weight. Measure fragrances at 6-12% by weight. Not all types of dye or fragrance work well in candles, so choose products carefully. Stir in additives slowly once the wax is melted to the proper temperature. Avoid splashing hot wax and work carefully. With preparation and care, melting wax can be simple.
Pouring and Wicking
Properly setting up the wick is an important step before pouring wax into the container. According to this source, you’ll want toprep your wick by cutting it to the proper height for your container. As a general rule, the wick should be 1/4-1/2 inch taller than the height of the container. Secure the wick to the bottom of the container with a drop of hot glue or by threading it through a hole.
When pouring wax, aim for a slow and steady stream right down the center of the container. This helps prevent air bubbles from forming. Pour to about 1/4 inch below the top of the container to leave room for the wick. For a second pour, wait at least 1 hour for the wax to fully set up before adding another layer. This helps with adhesion and prevents sinking. Gently re-center the wick after each pour. Allow the candle to fully cure for at least 48 hours before trimming the wick to 1/4 inch and lighting.
Cooling and Curing
After pouring your candles, it’s important to let them cool and cure properly before use. Allow the candles to cool at room temperature, untouched, for at least 4-6 hours. This gives the wax time to fully set up and helps prevent issues like sinkholes or cracks. Don’t move or handle the candles at all during this initial cooling phase.
Once cooled, the curing process begins. Curing allows the wax to become denser and stabilize over time. For soy wax candles, allow 1-2 weeks curing time. Paraffin candles need less curing time, about 24-48 hours [1]. Curing makes candles burn slower, cleaner, and helps their scent throw. Keep candles in a dry area away from light during curing. Make sure candle lids are off so the wax can release any trapped air [2].
Before burning cured candles, test them. Trim wicks to 1⁄4 inch, let candles burn for 2-3 hours, and check that wax pools evenly with no soot. Wicks that mushroom or smoke need trimming. Proper wick length prevents issues like tunneling. Now your candles are ready to enjoy!
Advanced Candlemaking Techniques
Once you have mastered the basics of candlemaking, you can try some more advanced techniques to create unique and artistic candles.
Layering
Layering involves pouring multiple layers of different colored wax into a container. To create layered candles:
- Prepare the wax for the first layer and pour it into the container.
- Allow it to cool and harden partially.
- Prepare the second color wax and carefully pour it over the first layer.
- Repeat with additional layers if desired.
- Allow to fully harden before adding the wick.
Layering allows you to create candles with beautiful, striped designs.
Embeds
Embeds involve placing objects into the wax to become encased or suspended in the finished candle. Some embed ideas include:
- Dried flowers
- Seashells
- Coffee beans
- Spices like cinnamon sticks or whole peppercorns
- Glitter or confetti
Prepare and pour the first layer of wax into the container, let harden partially, then gently press embeds into the wax before pouring the next layer.
Shaping
Molded candles allow for creativity in shaping the finished candle. To make shaped candles:
- Choose a candle mold in your desired shape.
- Grease the mold lightly with oil or non-stick spray.
- Prepare wax and pour into the mold.
- Insert wicks by securing to the bottom with tape or gluing with hot glue.
- Allow candles to fully cool and harden before removing from molds.
Shaping candles in creative molds like seashells, flowers, or geometric shapes allows for artistic custom candles.


